1. Background story
So many times I heard story from random guys that they buying second hand hard disks just to recover data of last owner, kind of hobby. This is the fact that makes me curious what is common practice in the society, so I started discuss topic with people.
Unfortunately majority of people does not encrypt their disks themselves. They are not aware how to do it neither they were looking for solution.
Although there is possibility that you are on safe side being unaware. This is when you are corporation employee for example, because most of companies have their own security departments that taking care of these things. Disks are encrypted already when you starting your work.
But if you have your private PC or macBook and you haven’t setup anything then most probably your disk is open to anyone who physically has access to it. Therefore I will present you very simple steps how to encrypt your data using free and commonly available software means VeraCrypt & KeePass.
2. Tools needed for action.
As I mentioned you will need below tools to follow tutorial:
VeraCrypt version 1.25.9 , homepage https://veracrypt.fr/
KeePass version 2.53.1, homepage https://keepass.info/
You don’t need exactly the same versions but I posted them like that to secure myself – just in case UI of an application has change or new version become paid.
Screenshots coming from Windows 11 but VeraCrypt is also available for MacOS. Here it is worth mentioning that Windows has it’s own encryption solution called BitLocker and MacOS has FileVault. BitLocker is not available for home edition license therefore quite big user group will be excluded.
3. Understanding problem with real example
To better feel threat from having unencrypted data on disk it is good for you to practice data recovery with any of your home pendrive. I am choosing pendrive for example because it has relatively small capacity. You know those free pendrives given away as gift during different conferences or even as a small welcome treatment when you join onsite training. The one I will show you will have 16GB of storage.
I placed funny picture inside then delete it and format pendrive.
Then I open recovery software called Recuva and follow wizard to recover photos by selecting right disk letter and choosing deep scan mode.

Just after few seconds I could see removed picture.
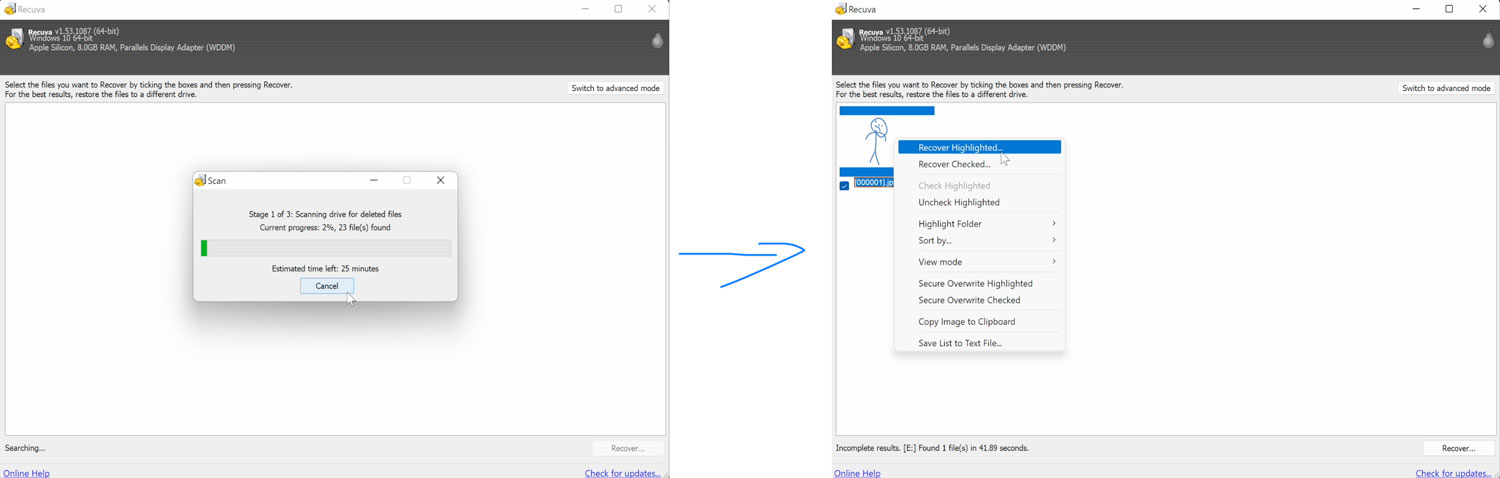
As you can see formatting disk is not the way to remove data probably. Maybe you also did that once or two but don’t worry – in the next step I will show you how encrypt you hard disk.
4. Encrypting disk that is already in usage
The best is to encrypt disk before saving any byte on it but if due to some reasons you already started saving data over there even then it is still possible to perform encrypt.
Steps to ecrypt disk that has some data:
- Prepare additional encrypted volume to backup your data
- Copy data into encrypted volume – this volume should be on another disk
- Encrypt data in-place on your unencrypted disk – here use wipe mode to overwrite blocks with random data, this is proper ereasing.
- Optionally delete encrypted backup created in 1 step
4.1 Prepare encrypted backup
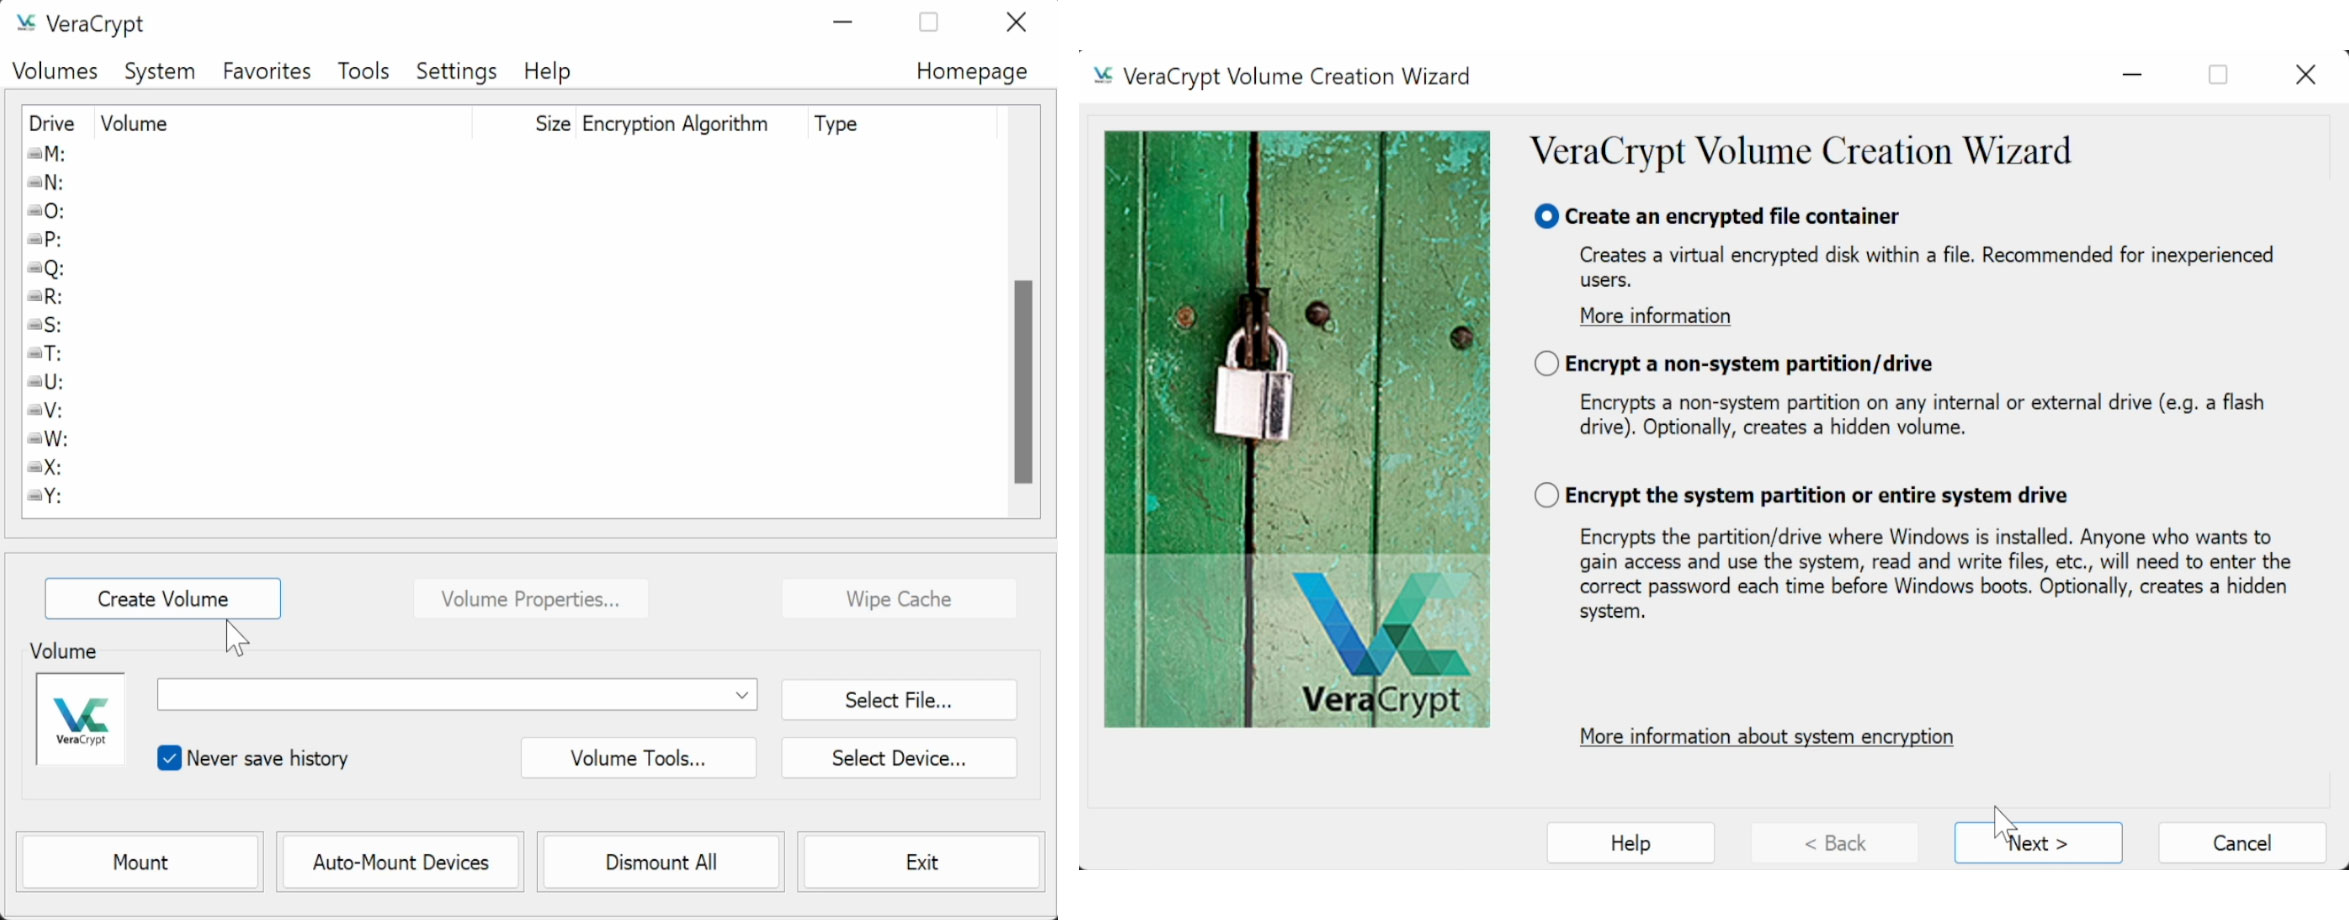
To prepare encrypted backup use VeraCrypt software to create new volume “encrypted file container” under any available location that can keep amount of data that you have on your non yet encrypted disk.
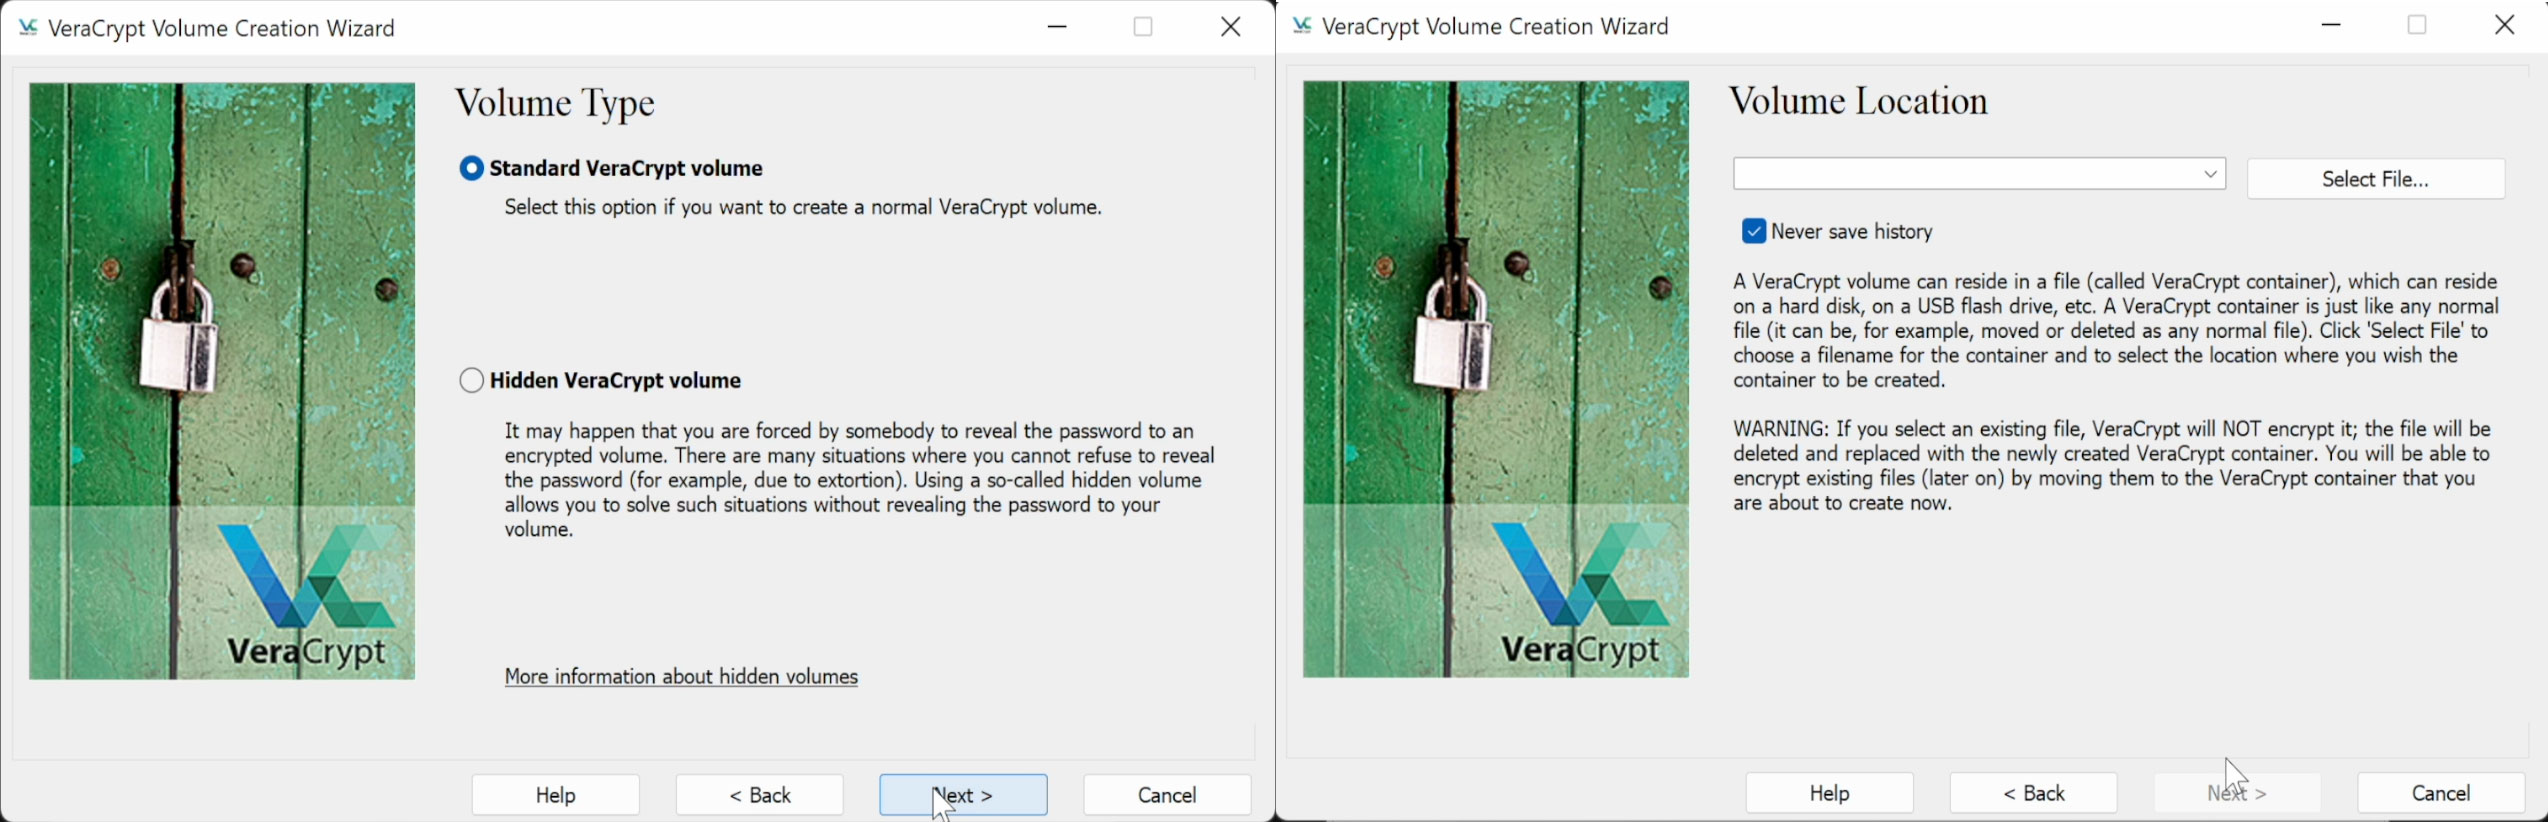
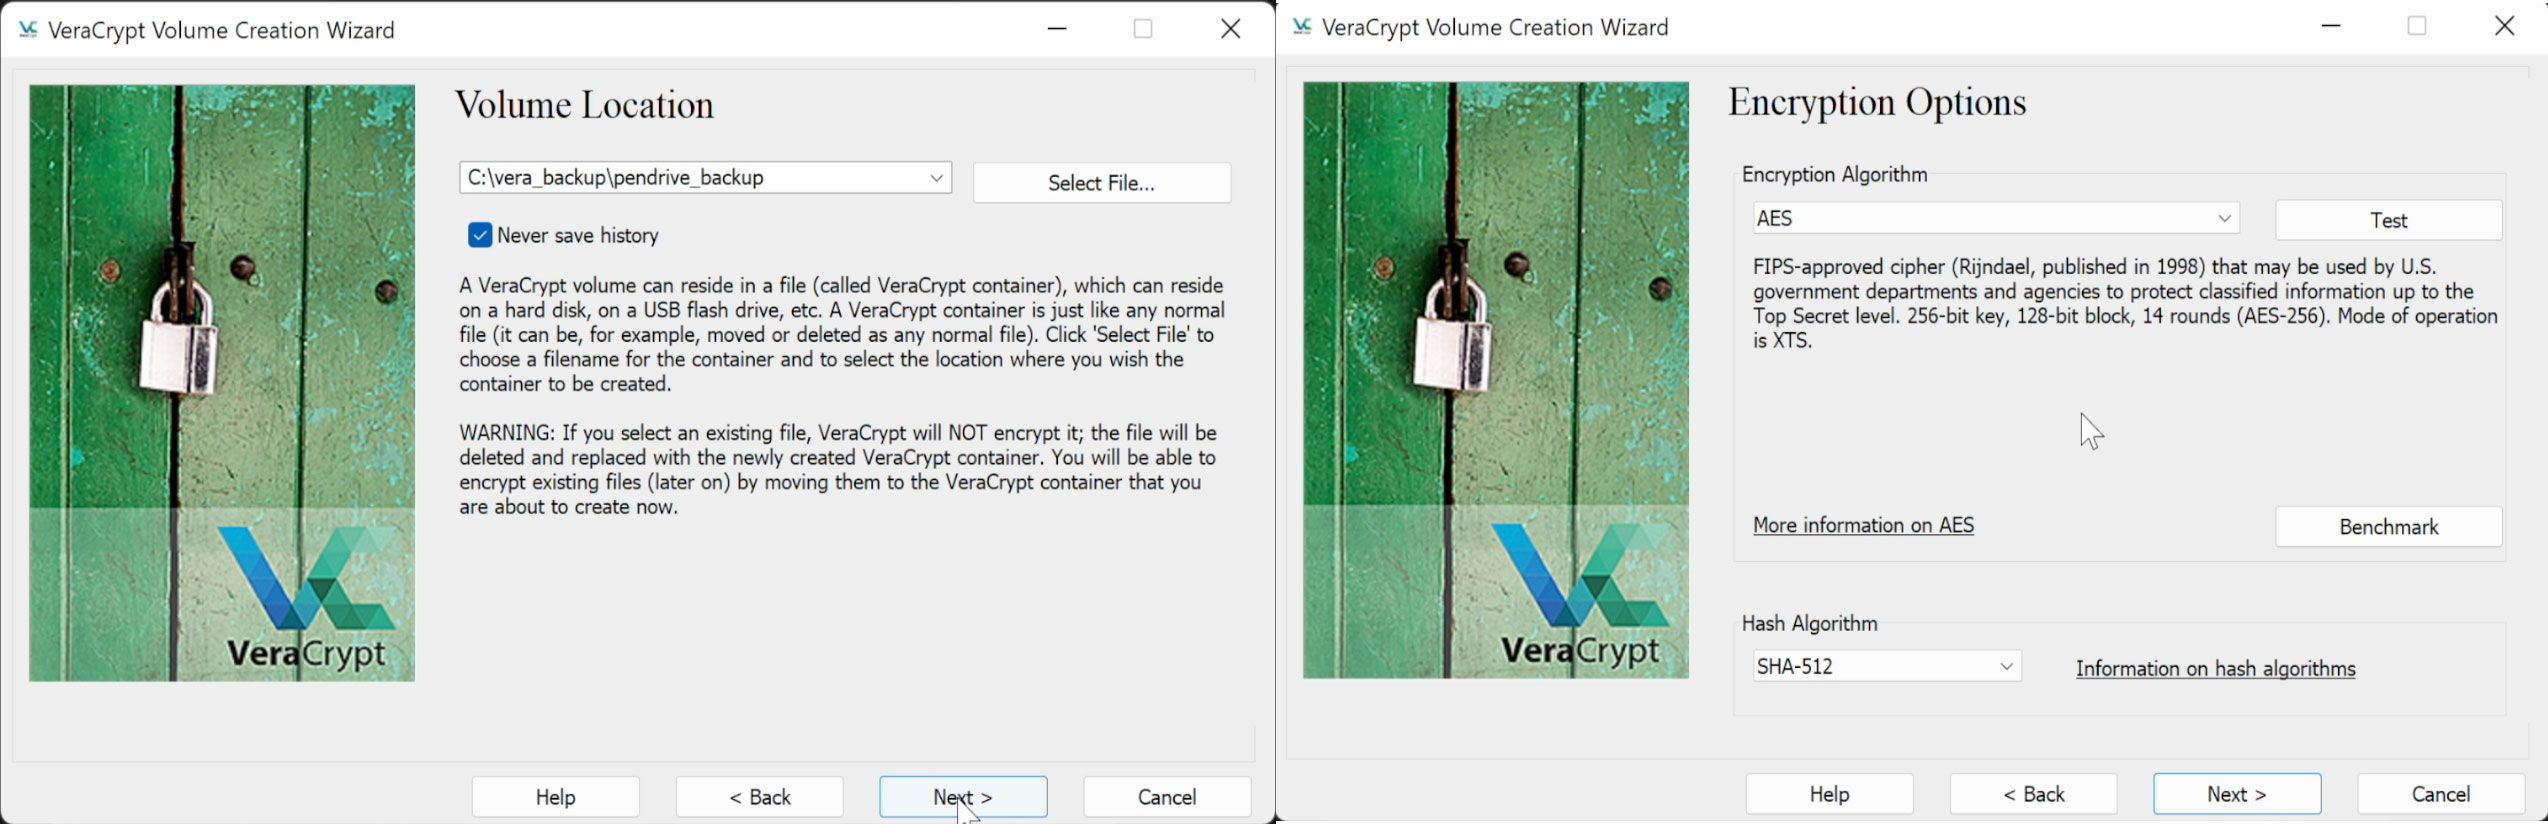
I kept default settings means AES encryption algorithm. Only thing about volume size to be able to hold all your data.

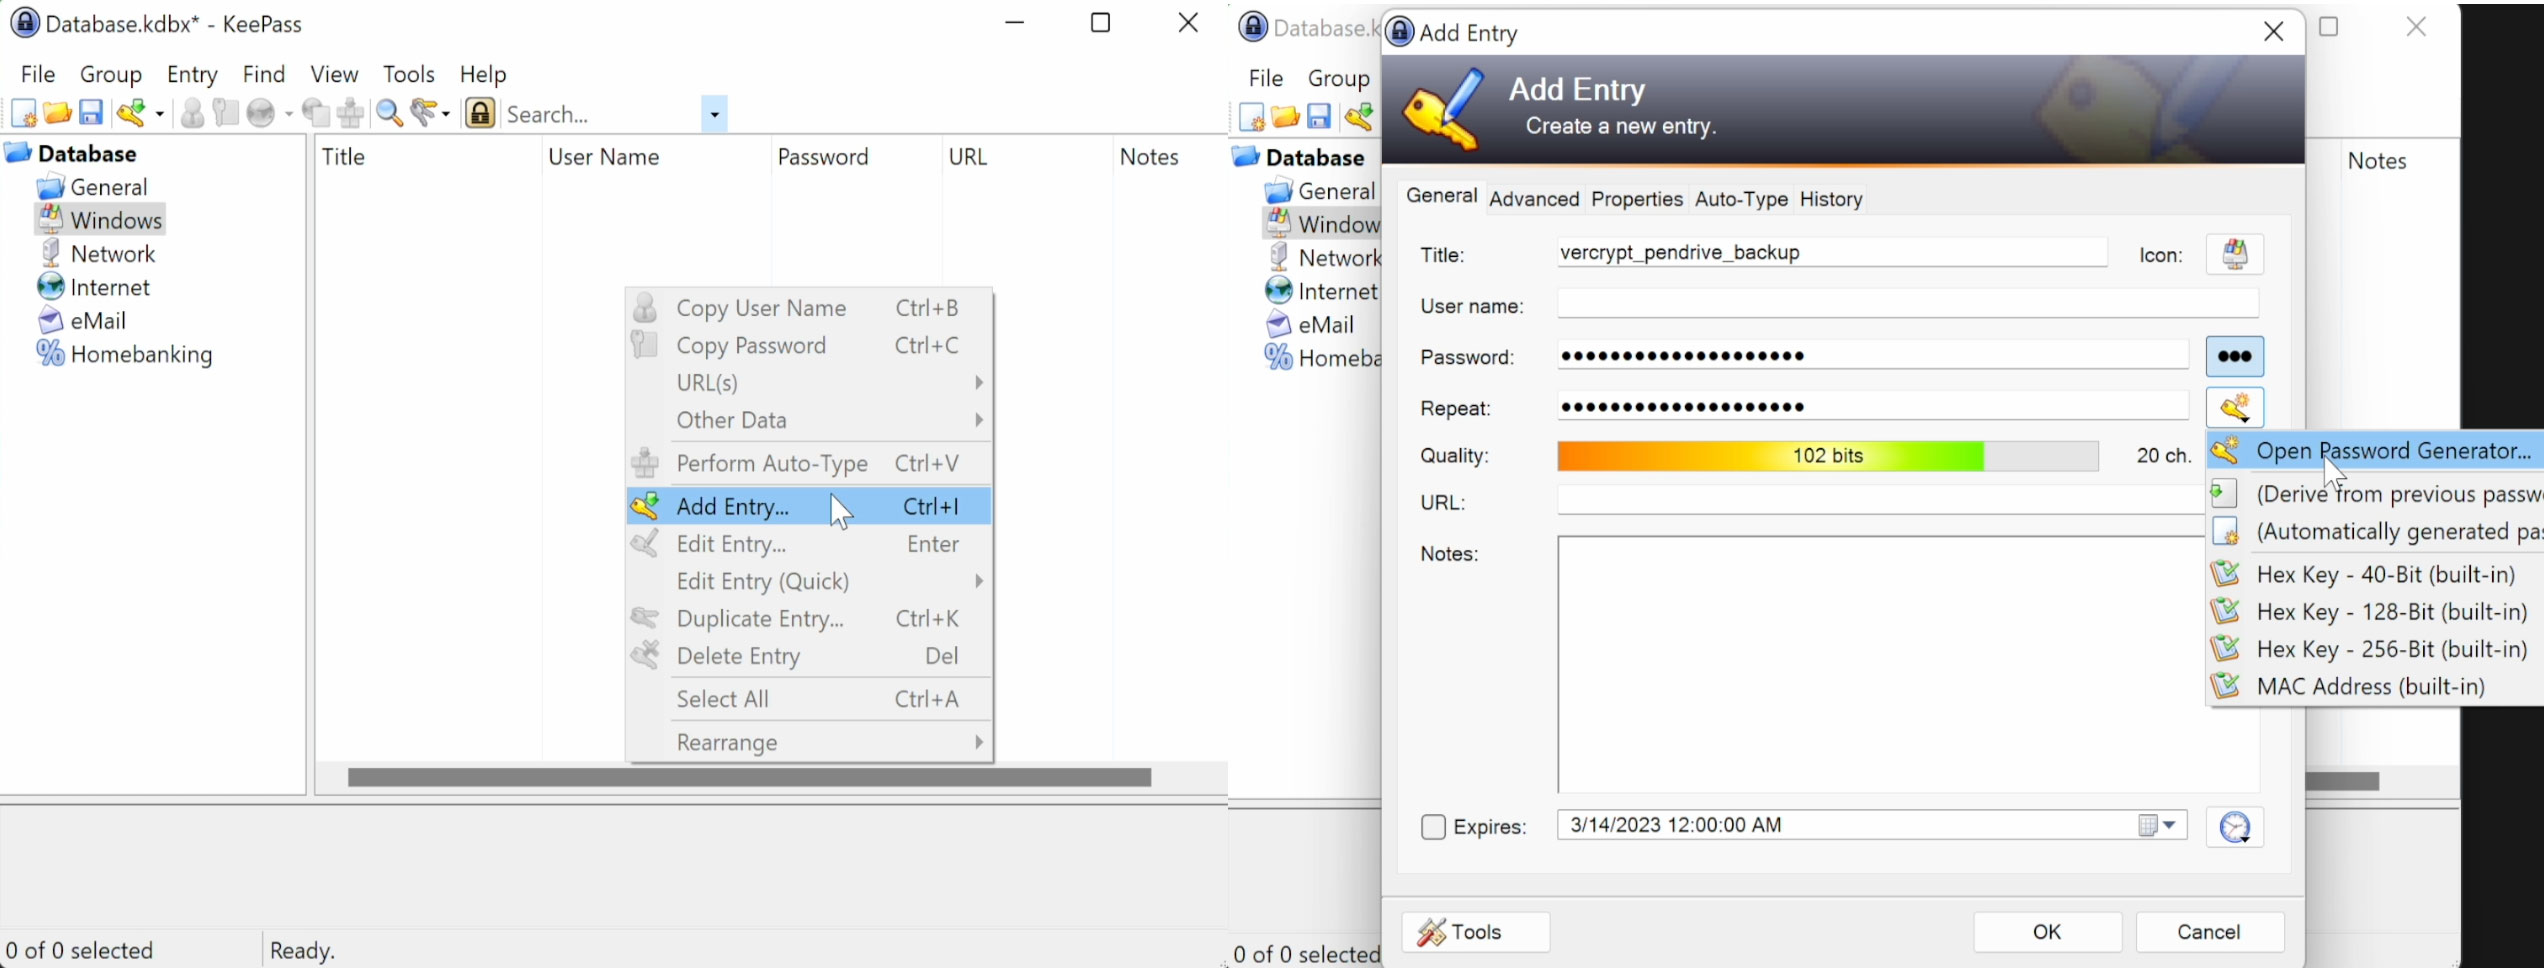
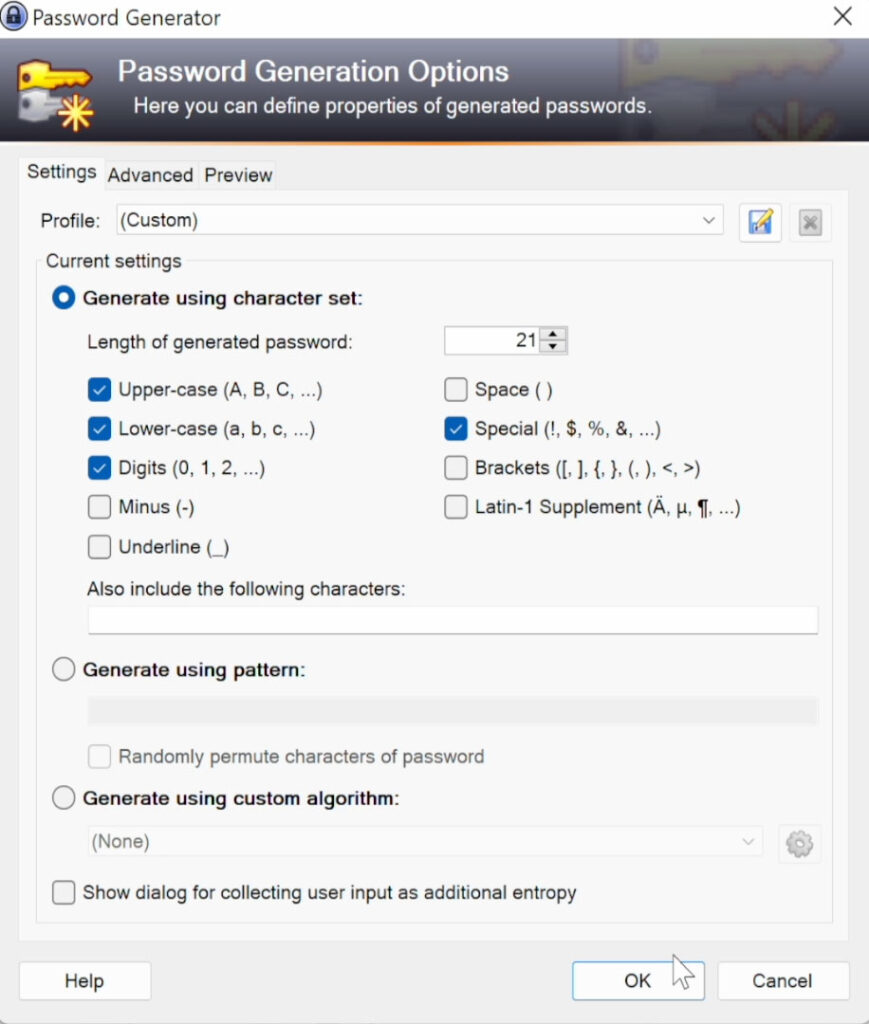
For good password I recommed you using KeePass. This is well known password manager that allows you storing hundreds of passwords for hundreds of services as you will store different password for each of the service 🙂
Password generator settings
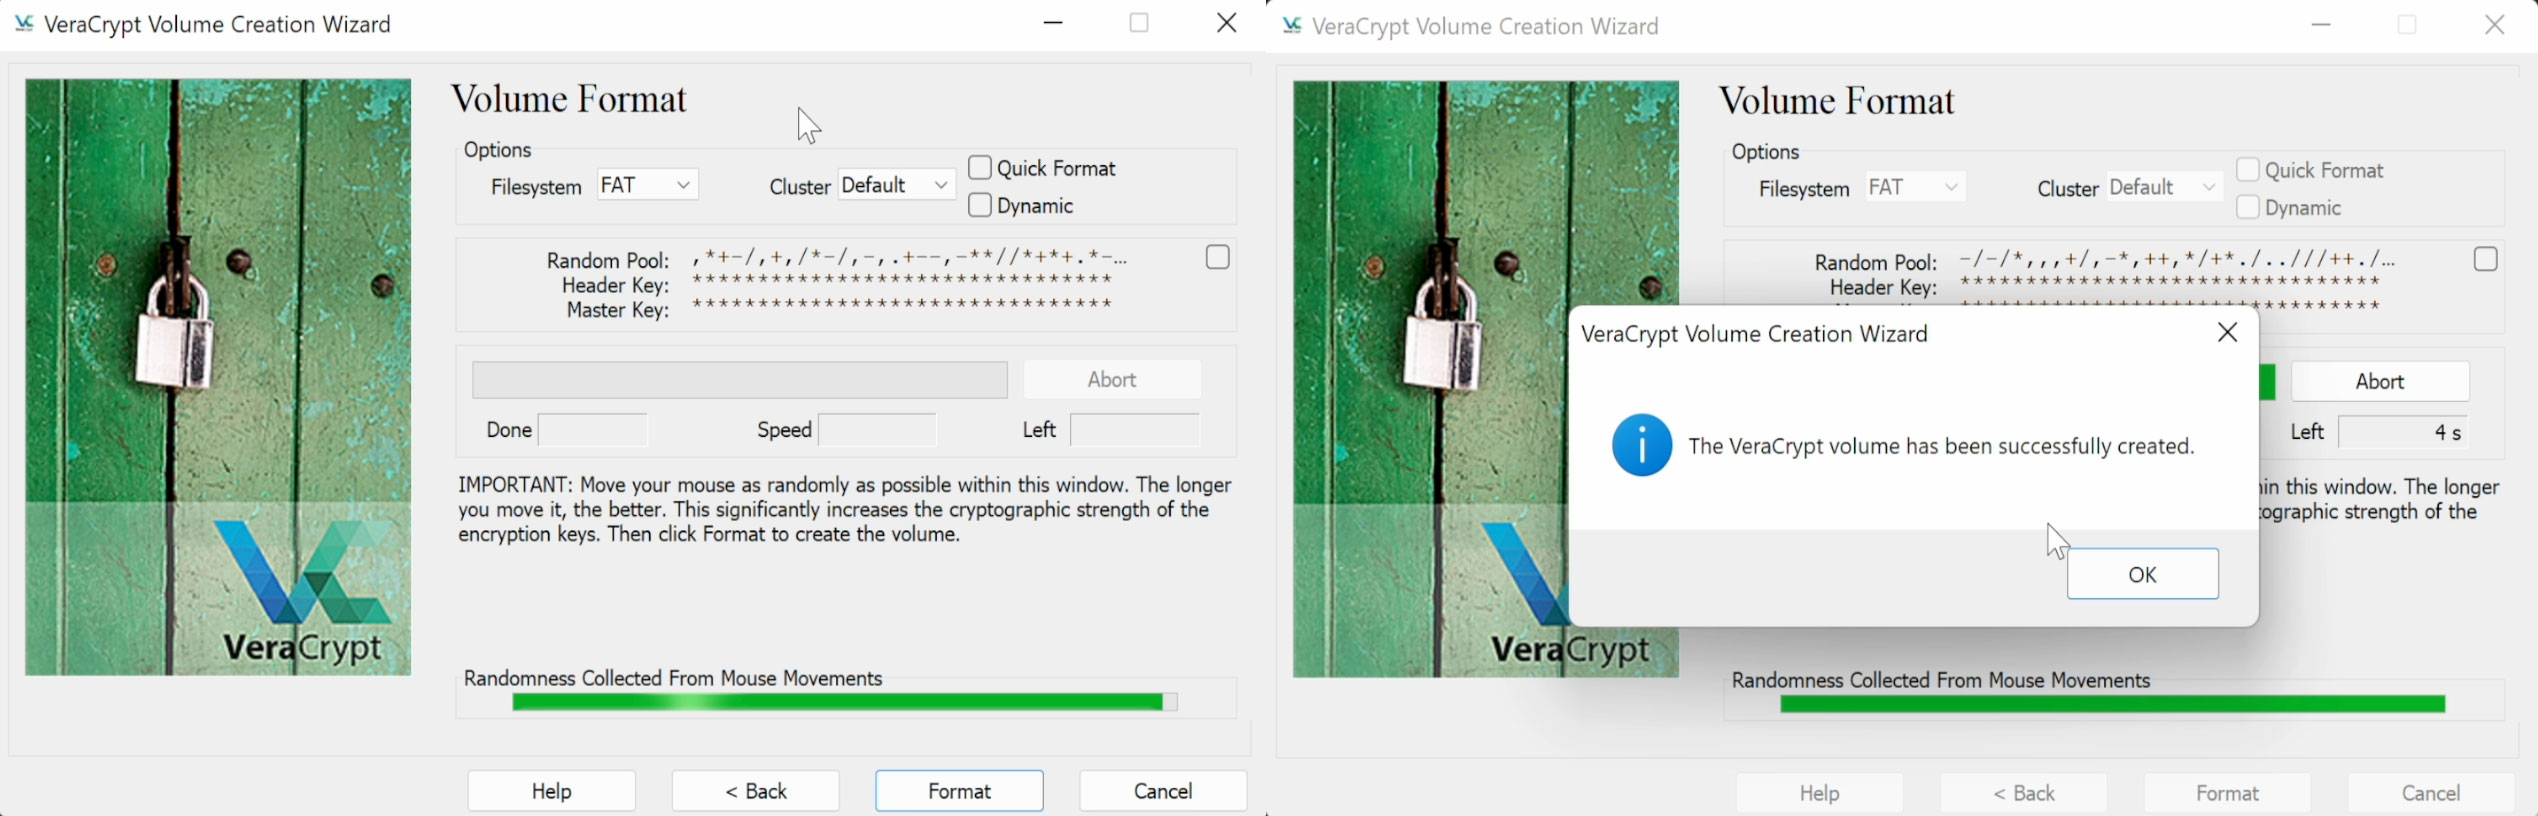
After assigning password for keys there will be phase when you will move mouse around to create randomness for encryption keys. Your password will secure keys that are generated that moment. Once progress bar is all green click on format and wait until encrypted volume is created.
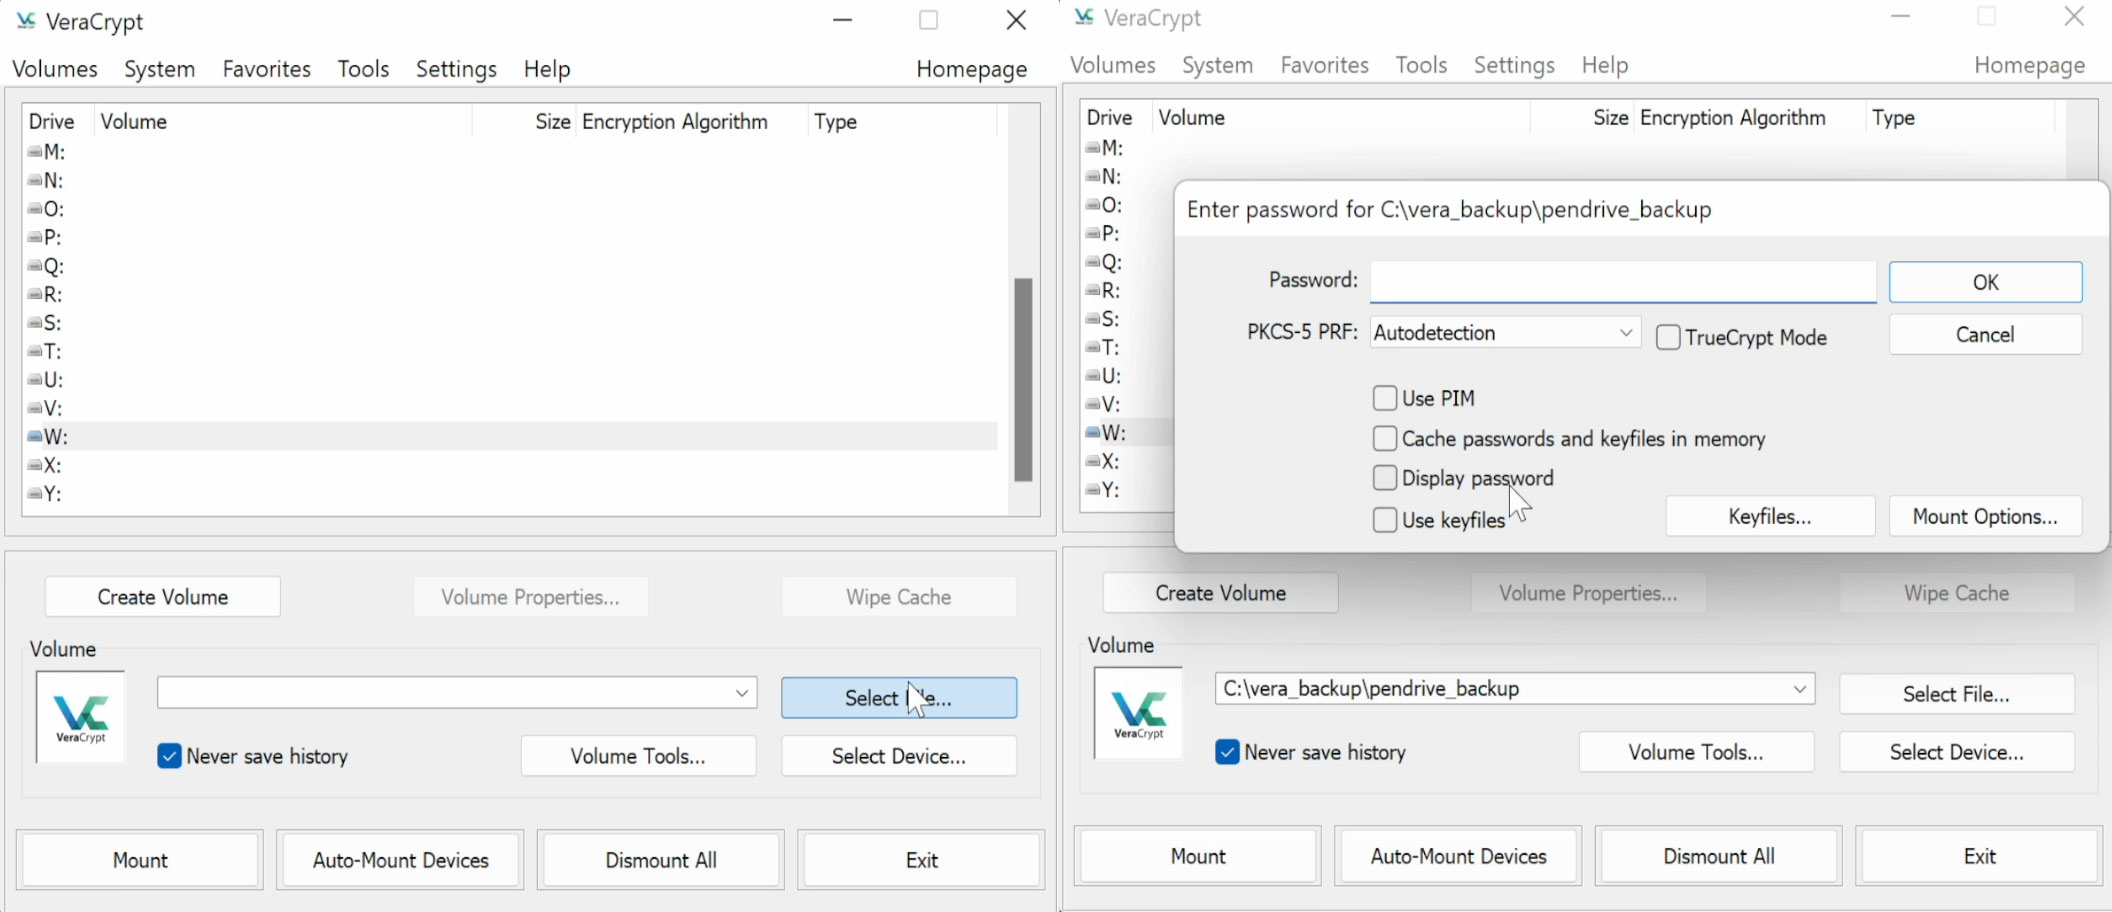
You can mount that volume by specifying file location and clicking on mount. Then you will be asked for password to unlock the disk. Use KeePass to get that password – Ctrl+V key combination or double click on ‘********’ char sequence.
After a moment volume will be mounted under the letter you chosen.
4.2 Copy data into encrypted volume
Now you can copy all your data from unencrypted disk into that encrypted volume. This is your backup , just in case next step will fail and destroy data.
4.3 Encryption in-place
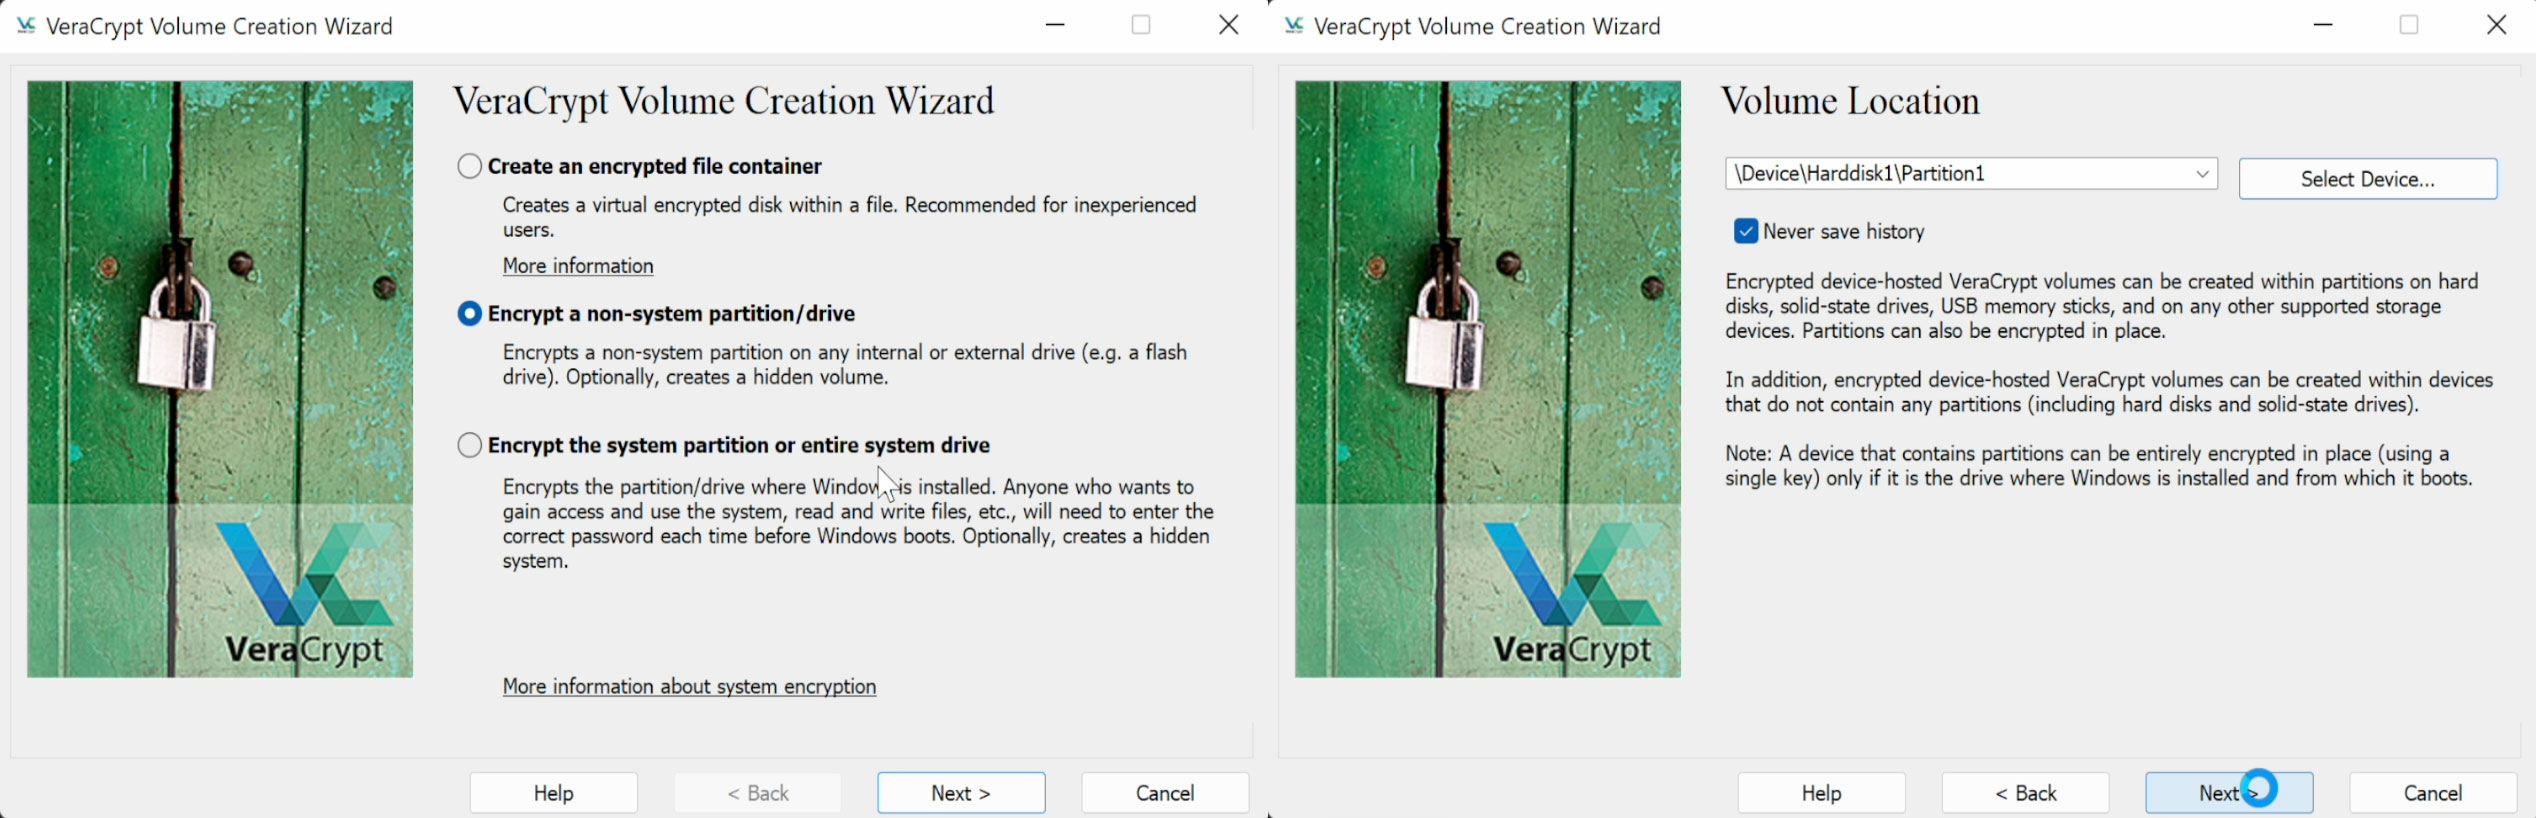
Create volume in VeraCrypt as usual with difference that now you will specify “Encrypt non-system partition/drive” and then right partition of that disk.
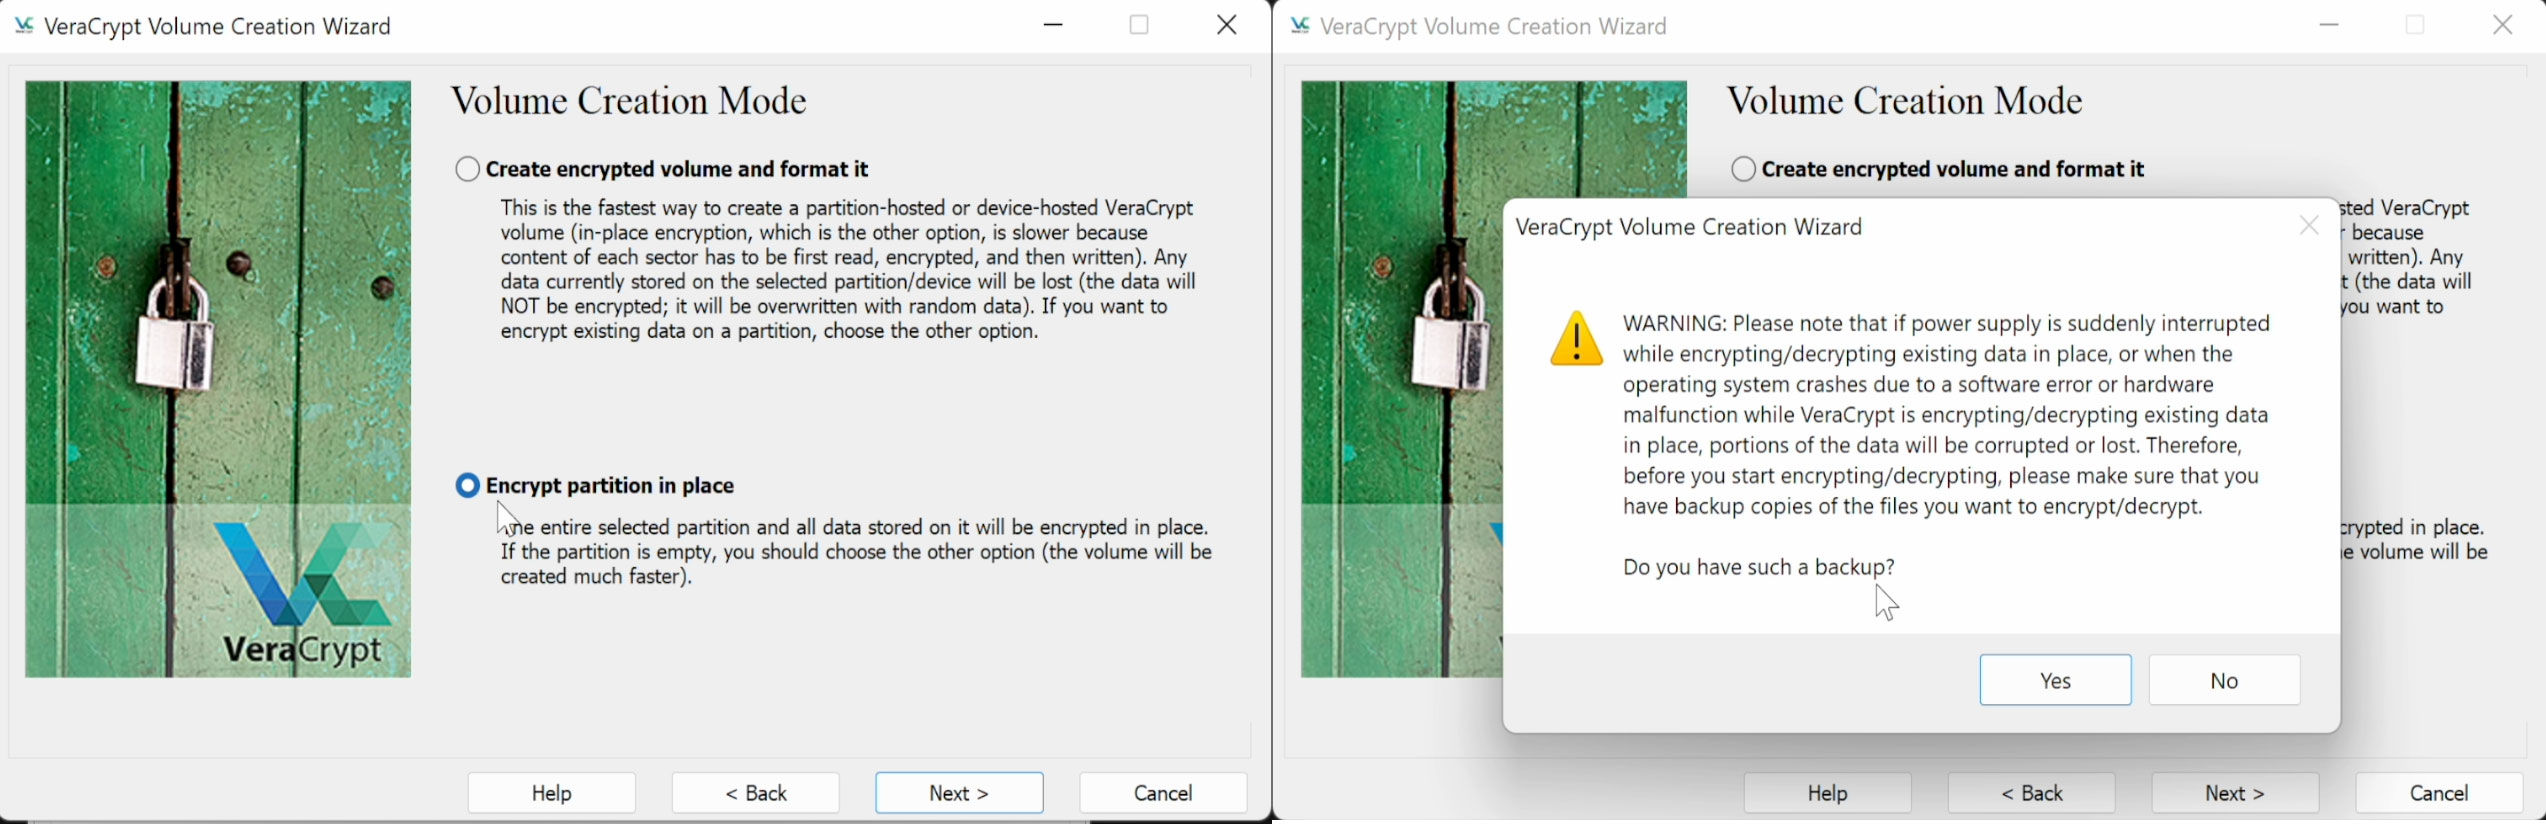
Crucial is section “Volume Creation Mode” where actually you will choose to encrypt partition in place. You will be asked for backup but you did it already so it’s fine
Proceed with wizard as usual until you reach the point when you need to decide what level of wiping are you satisfy with.
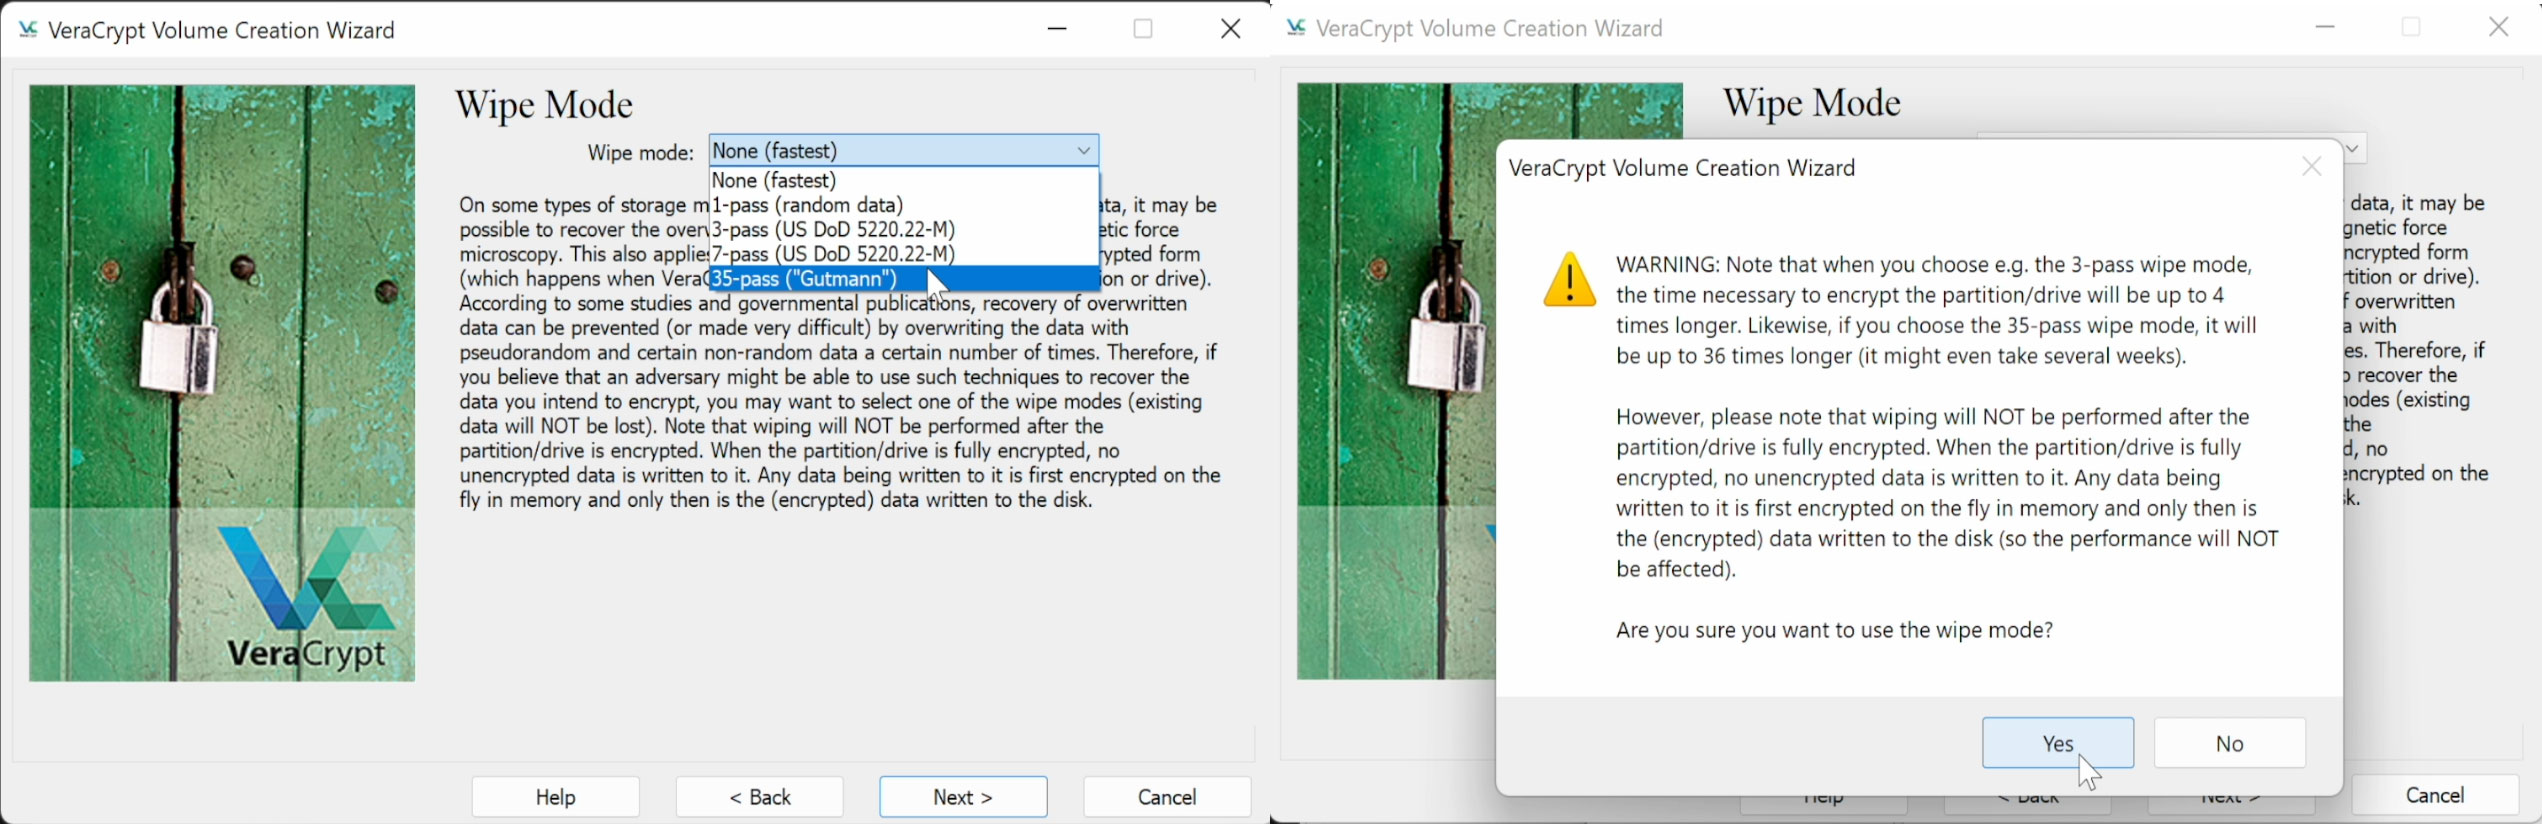
It will extend whole process. I remember wiping my personal 5TB disk with 7 passes and it took whole week so be aware of that. It really depends on hard disk , for usb 3 and fast disk it will be faster.
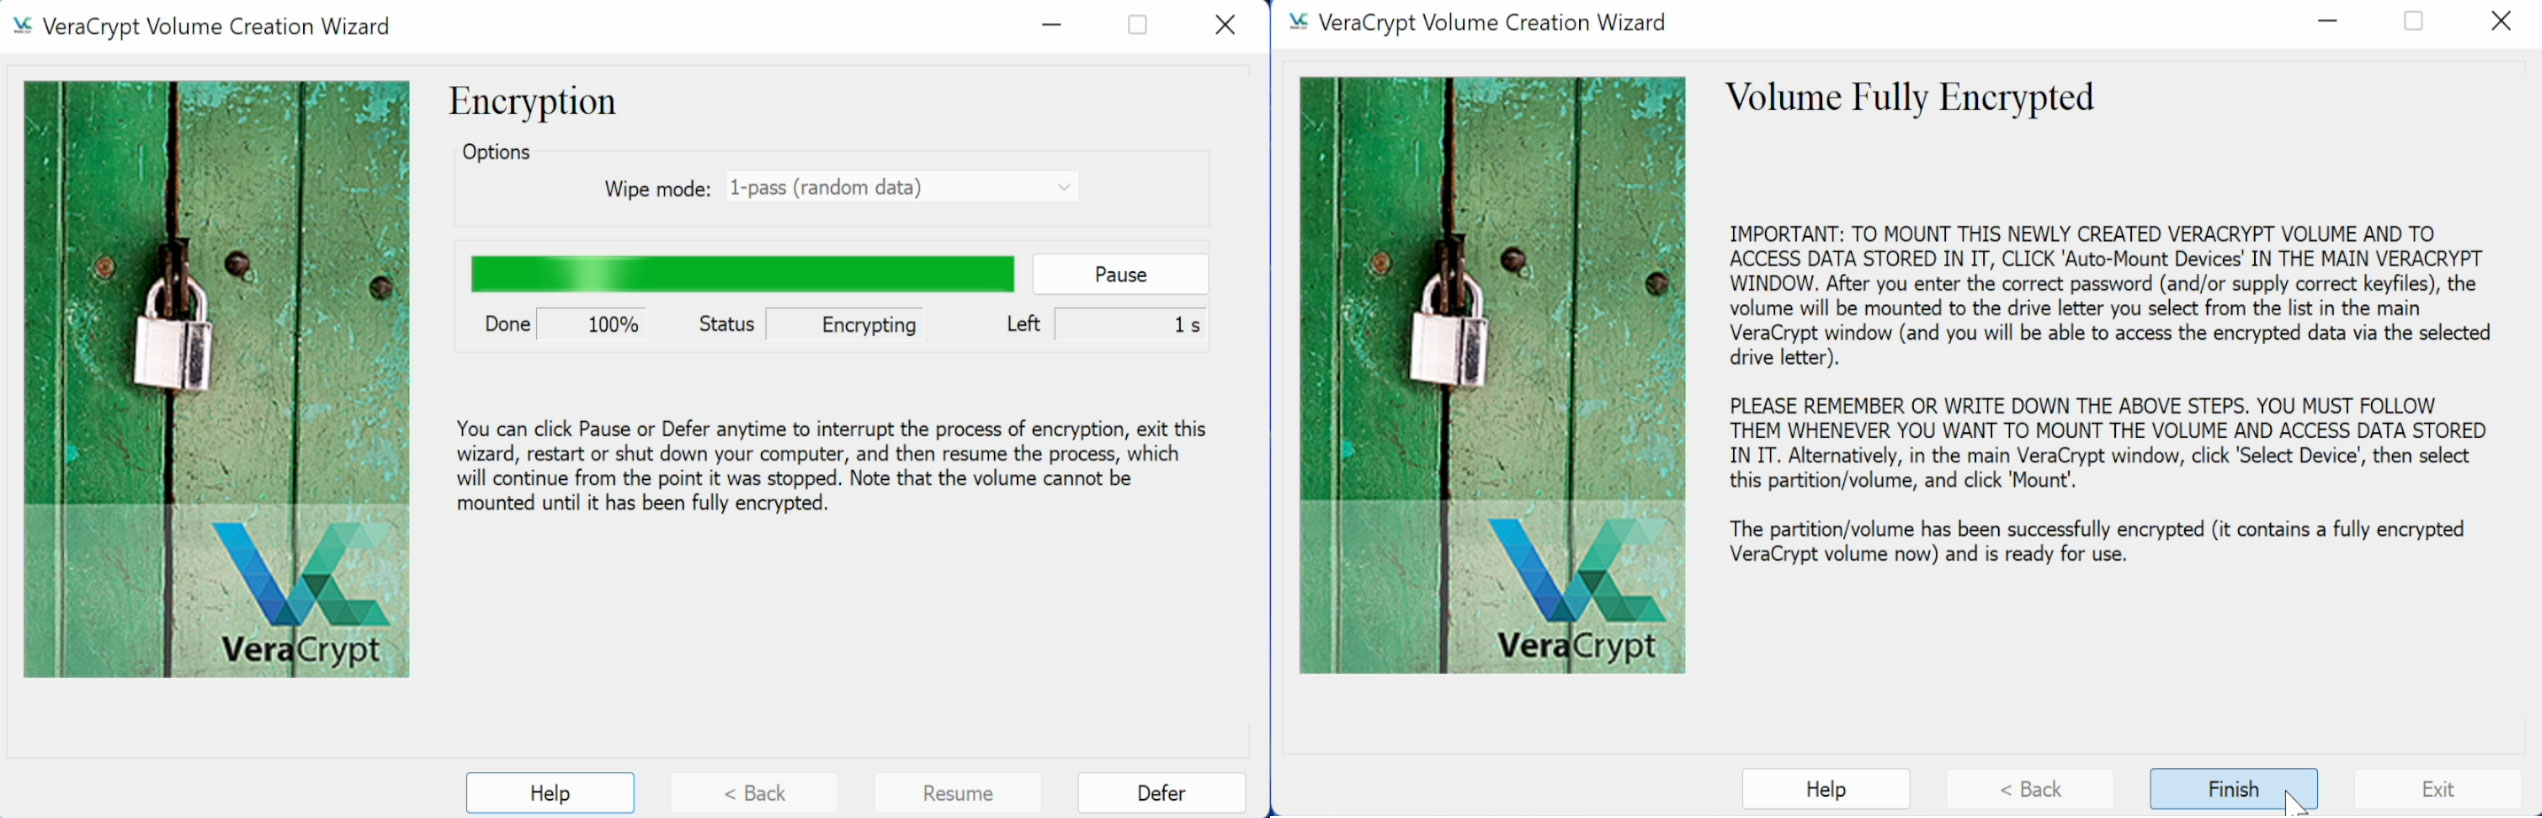
Once it is setup click on “Encrypt” button and wait until done.
5. Finally
It’s done. You data got encrypted on the disk. Now you can optionally delete backup but I am suggesting you have another mirror disk same size and encrypt it same way and then delete backup so your data will be more safe in case of disk failure.
That’s it. Please share article if you like it.
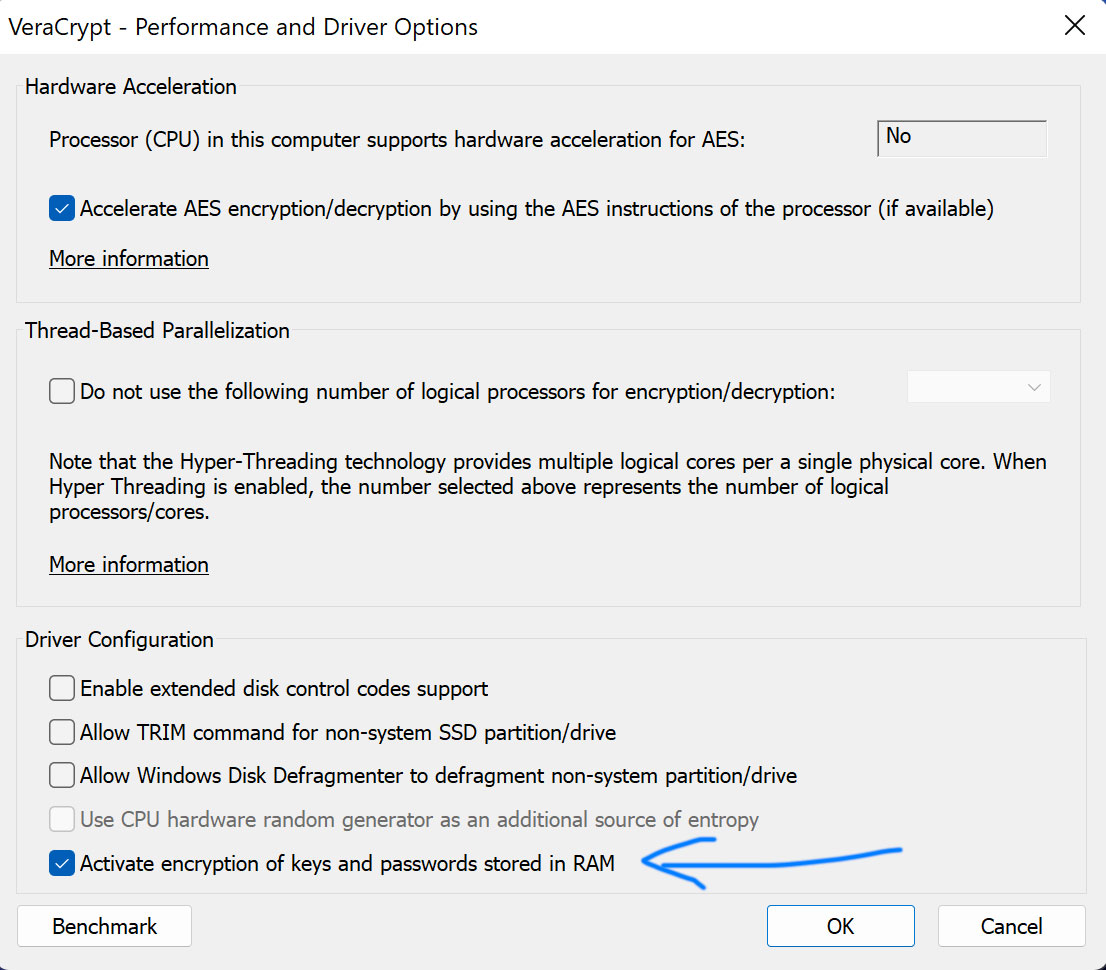
6. Bonus
To make it more secure next time enable encryption of keys and passwords stored in RAM. This is to prevent recovery of keys from dumped memory using software like ‘Elcomsoft Forensic Disk Decryptor’. Although circumstances that will allow dumping memory require physical access to your computer and administrative rights, which is quite uncommon, still it is worth to be more secure if possible.