
Table of Contents
1. Introduction
SIA is distributed storage. You can imagine it as torrent for hosting. Details about project can be found at their homepage. Elasticsearch run as a cluster is also distributed storage inside JVM. This is one common thing for both. I want them to cooperate together and that’s why I decided to create an backup of elasticsearch indices into SIA decentralized storage. Here helpful is Filebase that acts as a servant to deal with SIA on our behalf. What you will get is S3 API interface to communicate with and that’s enough. Let’s start.
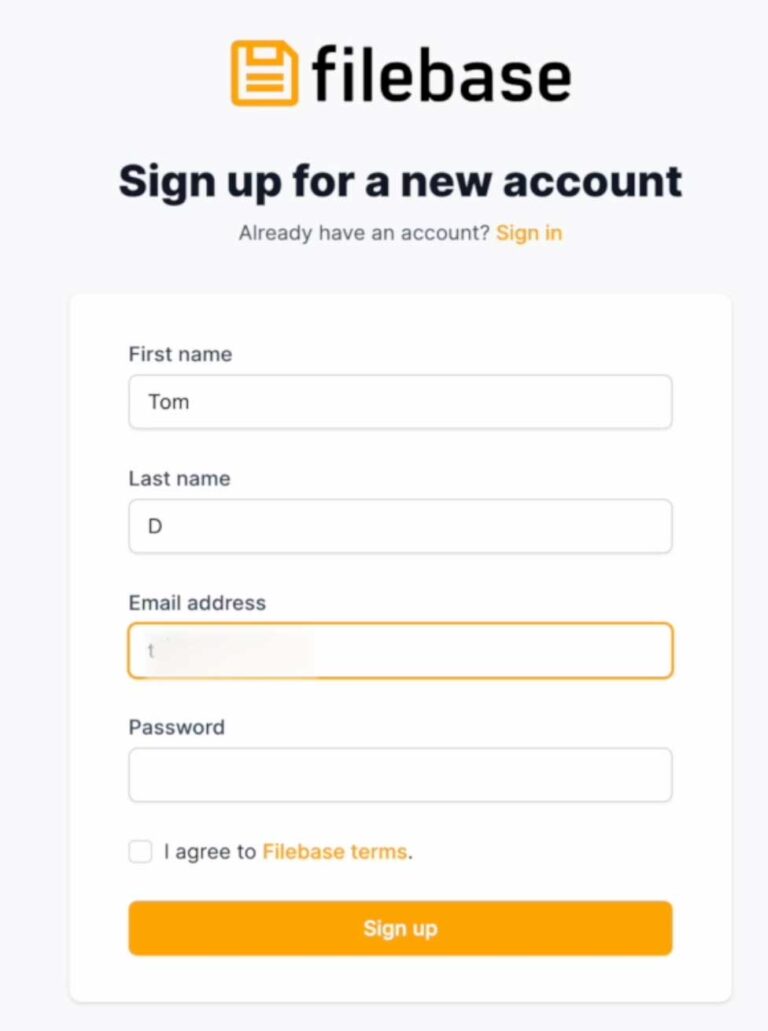
2. Sign Up To Filebase
In order to have benefit of SIA with Filebase – you have to register over there. Fortunately no credit card is involved and 5GB storage is for free without time limits.
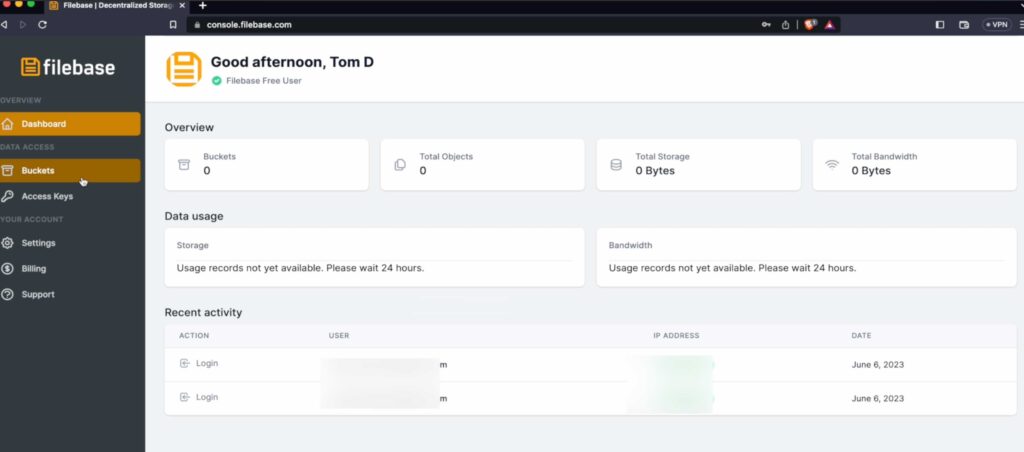
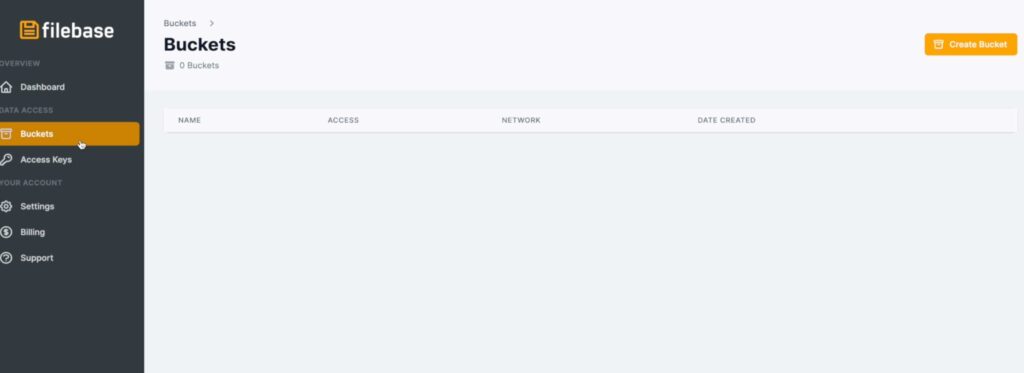
After registration process which is no different than on other websites, you will login and your eyes will see empty dashboard. Move on to Buckets tab on left side of the screen and Click on ‘Create bucket’
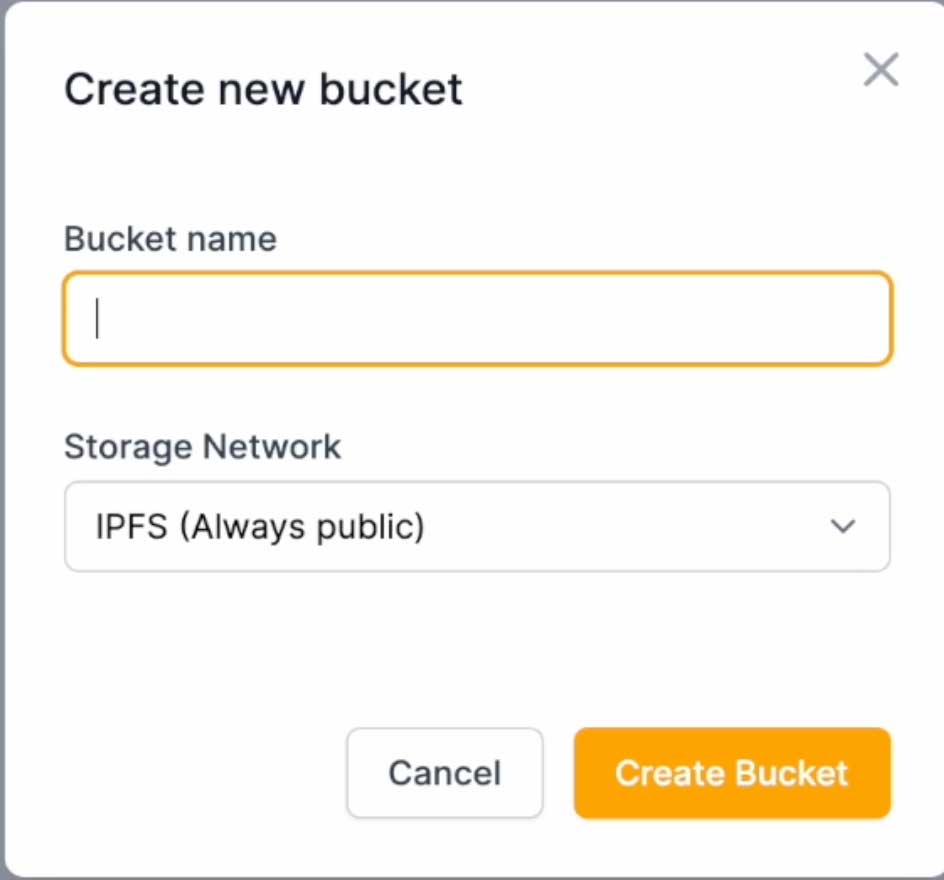
3. Create SIA Private Bucket
New window will pop-up with name and storage network to choose. As a name I am using generated password from KeePass including character types like capital letters A-Z, small letters a-z, digits 0-9 and one special character ‘-‘. Length I limited to 63 chars. You can also use OpenSSL to generate hash , md5sums or anything which will guarantee unique output and avoid collision with existing buckets in the network. Yes this will not let you setup fancy name or short name as bucket name, only generic boring random stuff. Please generate your bucket name and choose SIA network.
4. Connect to storage and validate
Bucket get created but it is good to validate if you can connect to that bucket using Postman REST client or curl command.
					GET https://hnue4ycmbbs5vbf72n7yjciak-ejpjovk4j3qvj2na35ku7gfu3ovf-fwq4-m2p.s3.filebase.com

# Giving below response

<?xml version="1.0" encoding="UTF-8"?>
<ListBucketResult xmlns="http://s3.amazonaws.com/doc/2006-03-01/">
    <Name>hnue4ycmbbs5vbf72n7yjciak-ejpjovk4j3qvj2na35ku7gfu3ovf-fwq4-m2p</Name>
    <Prefix/>
    <Marker/>
    <MaxKeys>1000</MaxKeys>
    <IsTruncated>false</IsTruncated>
</ListBucketResult>
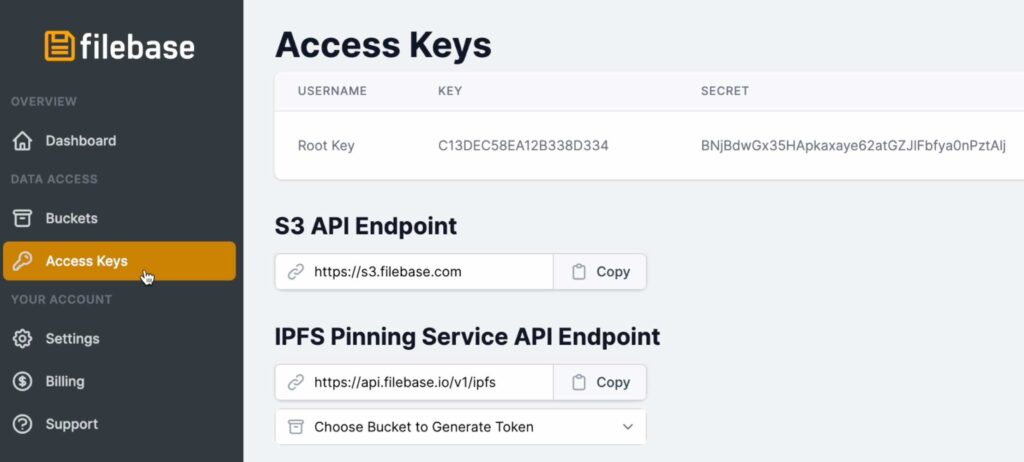
All credentials can be taken from ‘Access Keys’ section.
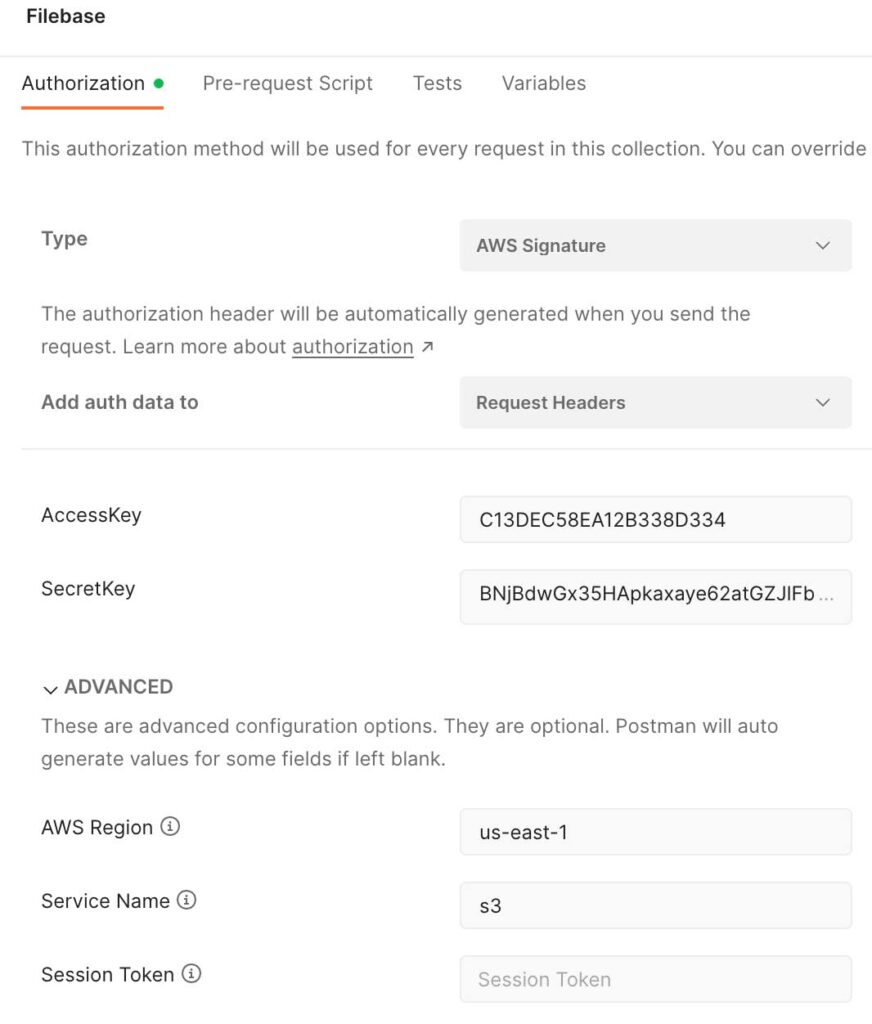
In Postman please make your life easier and create new collection for all future calls to Filebase. Authorization method will be used for every request in this collection. Choose Type as ‘AWS Signature’ , ‘AccessKey’ matching ‘KEY’ from Filebase and ‘SecretKey’ matching ‘SECRET’. ‘AWS Region’ is ‘us-east-1’ and ‘Service Name’ is ‘s3’. Under this collection create new request and use GET method with url https://YourBucketName.s3.filebase.com , here YourBucketName you are replacing with Bucket name created in previous steps.
5. Start docker elasticsearch container
I wanted to use secrets and these are only available within swarm manager. Although I won’t show you multiple node cluster here.
Note that ‘docker secret create’ command require to type 2 passwords one after another separating them by new line. The sequence order can be change but later on I will show you example of loading this secret value with that exact order so that’s the moment when consistency matters.
You will need to login to container to change Elasticsearch password because sometimes container not displaying password in the standard output. Also you need to put secret values into elasticsearch-keystore
Connect there and execute
					docker swarm init;

# type access key and secret key separated by new line after docker secret command like below
# C13DEC58EA12B338D334
# BNjBdwGx35HApkaxaye62atGZJlFbfya0nPztAlj
docker secret create filebase_accesskey_secretkey -;

docker service create \
--name elastic \
--publish published=9200,target=9200 \
--mount type=volume,src=elkdata,dst=/usr/share/elasticsearch/data \
--mount type=volume,src=elkconf,dst=/usr/share/elasticsearch/config \
--secret filebase_accesskey_secretkey \
docker.elastic.co/elasticsearch/elasticsearch:8.8.1;
					# login to execute commands
dockerContainerID=`docker ps --filter name=elastic -q`;
docker exec -it $dockerContainerID sh;


sh-5.0$ elasticsearch-reset-password -u elastic -i --url https://localhost:9200
sh-5.0$ cat  /run/secrets/filebase_accesskey_secretkey | elasticsearch-keystore add --stdin s3.client.filebase.access_key s3.client.filebase.secret_key
sh-5.0$ elasticsearch-keystore passwd
Because I mounted ‘/usr/share/elasticsearch/config’ into volume and there is elasticsearch.keystore file I run ‘elasticsearch-keystore passwd’ command to setup password for this storage and keep it encrypted instead just obfuscated.
					sh-5.0$ ls -lt /usr/share/elasticsearch/config
total 68
-rw-rw-r-- 1 elasticsearch root  1106 Jul 11 21:45 elasticsearch.yml
-rw-rw---- 1 elasticsearch root   439 Jul 11 21:45 elasticsearch.keystore
drwxr-x--- 2 elasticsearch root  4096 Jul 11 21:45 certs
-rw-rw-r-- 1 root          root 12549 Jun  5 21:37 log4j2.properties
-rw-rw-r-- 1 root          root 17969 Jun  5 21:34 log4j2.file.properties
-rw-rw-r-- 1 root          root   473 Jun  5 21:34 role_mapping.yml
-rw-rw-r-- 1 root          root   197 Jun  5 21:34 roles.yml
-rw-rw-r-- 1 root          root     0 Jun  5 21:34 users
-rw-rw-r-- 1 root          root     0 Jun  5 21:34 users_roles
drwxrwxr-x 2 elasticsearch root  4096 Jun  5 21:33 jvm.options.d
-rw-rw-r-- 1 root          root  1042 Jun  5 21:31 elasticsearch-plugins.example.yml
-rw-rw-r-- 1 root          root  2569 Jun  5 21:31 jvm.options


sh-5.0$ exit;
Elasticsearch is running. Because keystore file get modified reload of secure settings is needed. Settings we added are hot and can be reloaded using API call. Use Postman or curl to do it.
					docker cp $dockerContainerID:/usr/share/elasticsearch/config/certs/http_ca.crt .

curl --cacert http_ca.crt -XPOST -u elastic 'https://localhost:9200/_nodes/reload_secure_settings' \
--header 'Content-Type: application/json'-d'
{
    "secure_settings_password":"SomePasswordYouSetup"
}'
6. Register repository for backup
Now time to work on Elasticsearch. First register repository that will be used for backup on Elasticsearch.
					curl --cacert http_ca.crt -XPUT -u elastic 'https://localhost:9200/_snapshot/my_s3_filebase_repository?verify=true' \
--header 'Content-Type: application/json' -d'
{
    "type":"s3",
    "settings":{
        "bucket":"hnue4ycmbbs5vbf72n7yjciak-ejpjovk4j3qvj2na35ku7gfu3ovf-fwq4-m2p",
        "client":"filebase",
        "region":"us-east-1",
        "endpoint":"s3.filebase.com"
    }
}'
Now you can load your test data data.
7. Load sample data
I created simple 2 documents to load into index. Of course you can load more , exactly up to 5GB because this is free storage on SIA network with free account on Filebase.
					curl --cacert http_ca.crt -XPOST -u elastic 'https://localhost:9200/storage/_bulk' \
--header 'Content-Type: application/json'  -d'
{"index":{"_id":"cloud"}}
{"type":"Centralized","owner":"Big Corporation","country":"USA"}
{"index":{"_id":"ipfs"}}
{"type":"Distributed","owner":"The People","country":"World"}
'
8. Create snapshot (backup)
Action from article title. Backup data to S3 SIA storage is happening now.
Please execute
					curl --cacert http_ca.crt -XPUT 'https://localhost:9200/_snapshot/my_s3_filebase_repository/snapshot_20230709?wait_for_completion=true' \
--header 'Content-Type: application/json' -d'
{
    "indices":"*,-.*",
    "include_global_state":"false"
}'
9. Delete data
Because I trust what I did I am going to delete all data I loaded. Please be with me
curl --cacert http_ca.crt -u elastic -XDELETE 'https://localhost:9200/storage'
To be sure if data is delete, search for it
curl --cacert http_ca.crt -u elastic -XGET 'https://localhost:9200/storage/_search'
10. Restore snapshot (backup)
Now restore to have it back.
					curl --cacert http_ca.crt -u elastic -XPOST 'https://localhost:9200/_snapshot/my_s3_filebase_repository/snapshot_20230709/_restore' \
--header 'Content-Type: application/json' -d'
{
    "indices":"*"
}'
Search again to confirm that data get restored.
curl --cacert http_ca.crt -u elastic -XGET 'https://localhost:9200/storage/_search'
11. Clean up
Cleaning is optional but it helps keep things neat.
First delete Elasticsearch repository. This could clean up SIA storage on filebase but unfortunately leaving few files.
curl --cacert http_ca.crt -u elastic -XDELETE 'https://localhost:9200/_snapshot/my_s3_filebase_repository/snapshot_20230709/'
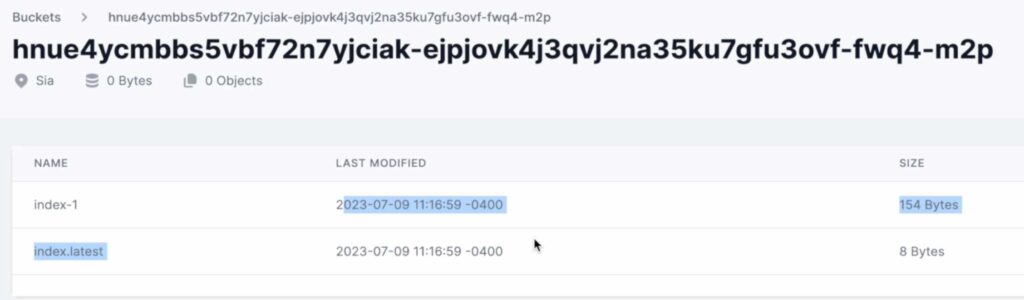
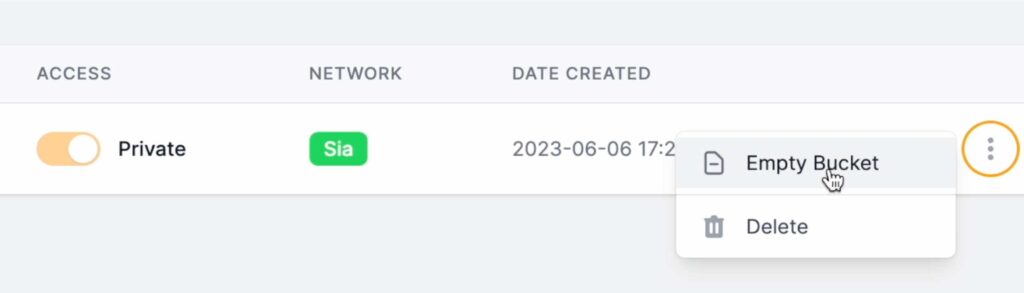
What to do? Just clean them manually using Filebase UI.
With docker there are 2 actions – closing swarm and deleting created volumes. If you plan to start another cluster with same volumes then it might cause issues as it will mix with previous cluster metadata so let’s keep it clean.
					docker swarm leave --force

# remove volumes

docker volume rm elkconf
docker volume rm elkdata
12. Summary
In the tutorial you have learned how to create account on Filebase for free. You created bucket over there and you connect to that bucket using Postman. Later on you started 1 node elasticsearch cluster on 1 node swarm cluster and you utilize docker secrets for S3 credentials. With elasticsearch you created repository that pointed to SIA private encrypted bucket. Then you loaded sample data to elasticsearch which you secure backing them up on decentralized storage. Once data was back up you deleted that data on elasticearch, once done – you restore it. Finally clean up was done.
I hope you enjoy it like me. I will continue with other tutorials like that so you can subscribe to my YouTube channel and bookmark this blog.
Have a nice coding 🙂