Table of Contents
1. Introduction
Do you want to see your company logo when you are using Kibana? Instead of standard graphics you can place your own branding! I am going to show you how to setup all of this. The logo, organization name, page title, and web browser icon. All of that can be customized globally under “Global Settings” tab in the Advanced Settings section of Stack Management.
You have to be admin of Kibana and have enterprise license. Changes you will made applying to all spaces.
2. Start Elastic and Kibana
It is required to start licensed version of Elasticsearch, otherwise there won’t be any effect of changes made to Kibana branding look. Perform commands in terminal to start
					docker network create kibana

docker run --rm \
--name elk \
--net kibana \
-d \
-p 9200:9200 \
-e xpack.license.self_generated.type=trial \
docker.elastic.co/elasticsearch/elasticsearch:8.10.1


# reset password
docker exec -it elk /usr/share/elasticsearch/bin/elasticsearch-reset-password -i -u elastic

# apply for new enrollment token
docker exec -it elk /usr/share/elasticsearch/bin/elasticsearch-create-enrollment-token -s kibana
Open another terminal and start Kibana
					docker run --rm \
--name kibana \
--net kibana \
-p 5601:5601 \
docker.elastic.co/kibana/kibana:8.10.1
Once it is started open in web browser http://localhost:5601?code=XXX where XXX is code displayed in Kibana stdout process. Place your enrollment token inside box and accept.
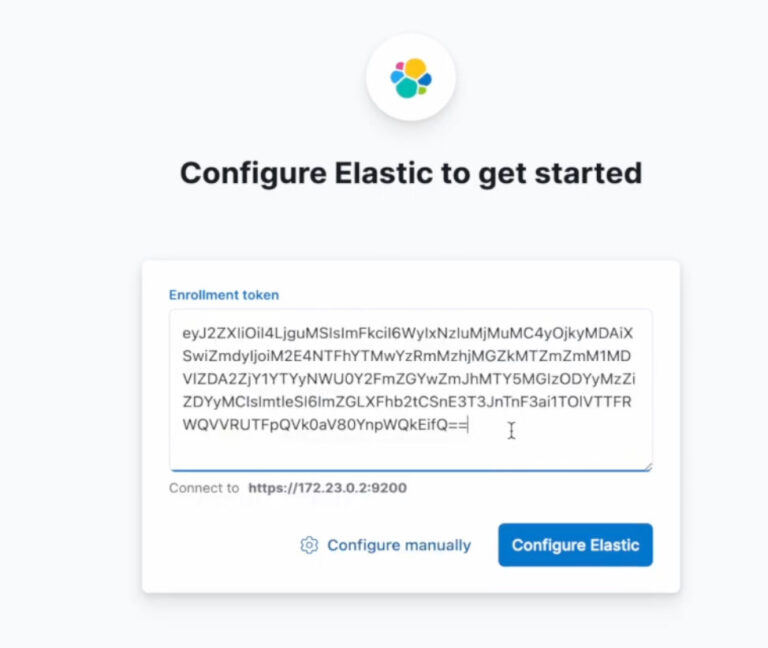
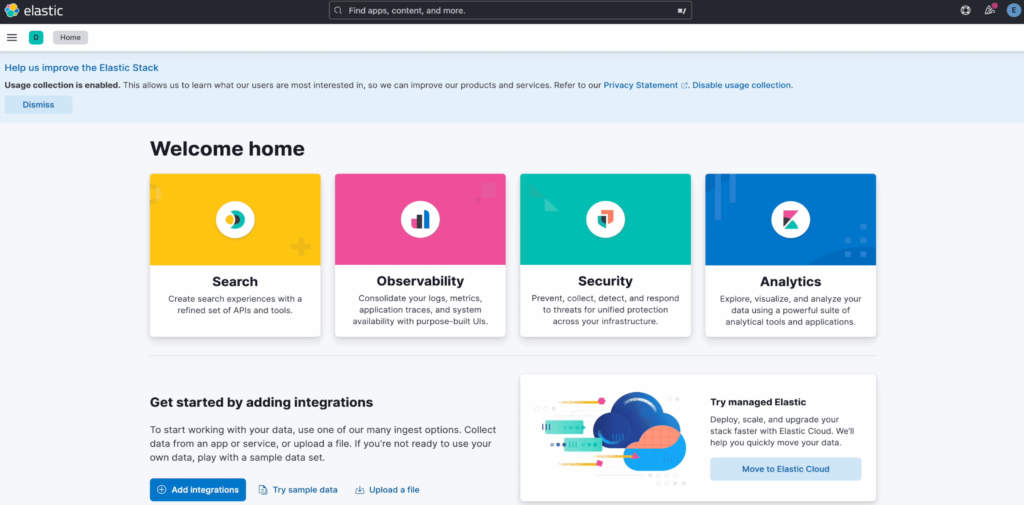
Elasticsearch and Kibana are connected and both up and running.
3. Custom branding setup
Go to main menu -> Stack management -> [Kibana] Advanced Settings -> Global settings [Custom branding]
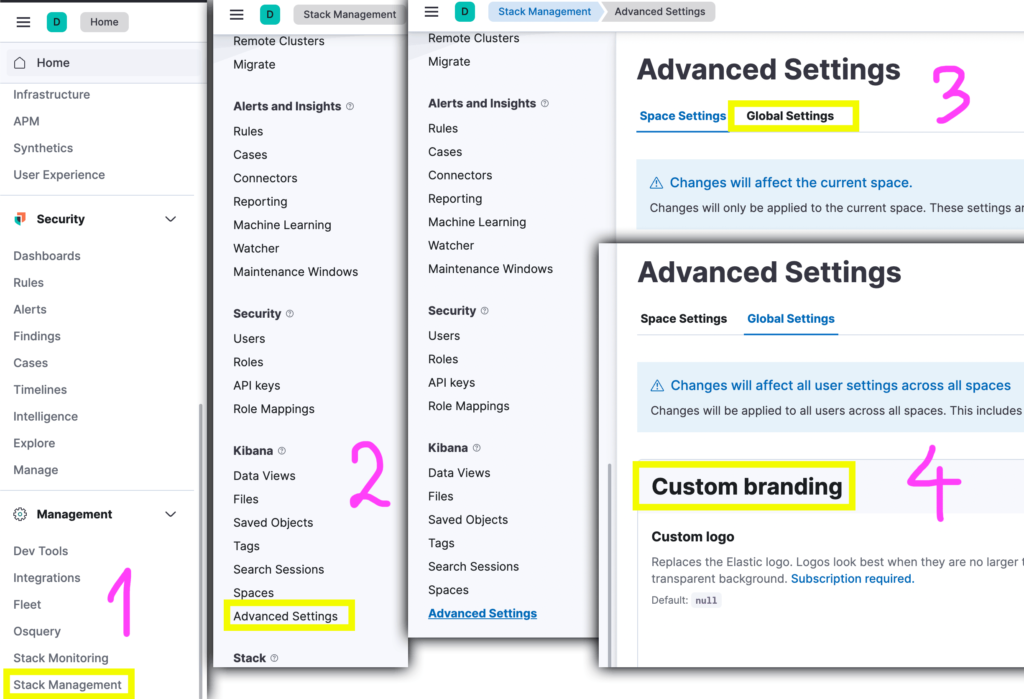
Now you can see all settings
+===================+======================================================================================================================================+
|      Setting      |                                                             Description                                                              |
+===================+======================================================================================================================================+
| Custom logo       | Replaces the Elastic logo. Logos look best when they are no larger than 128 x 128 pixels and have a transparent background.          |
+-------------------+--------------------------------------------------------------------------------------------------------------------------------------+
| Organization name | Replaces the text next to the logo. Images look best when they are no larger than 200 x 84 pixels and have a transparent background. |
+-------------------+--------------------------------------------------------------------------------------------------------------------------------------+
| Page title        | The text that appears on browser tabs.                                                                                               |
+-------------------+--------------------------------------------------------------------------------------------------------------------------------------+
| Favicon (SVG)     | The URL of an image that will appear on browser tabs. Recommended size is 16 x 16 pixels.                                            |
+-------------------+--------------------------------------------------------------------------------------------------------------------------------------+
| Favicon (PNG)     | The URL of an image for use in browsers that don’t support SVG.                                                                      |
+-------------------+--------------------------------------------------------------------------------------------------------------------------------------+
You can edit in random order as settings are independent, but it is good to have custom logo and organization name fixed as they appear next to each other. Please change everything so it looks cool.
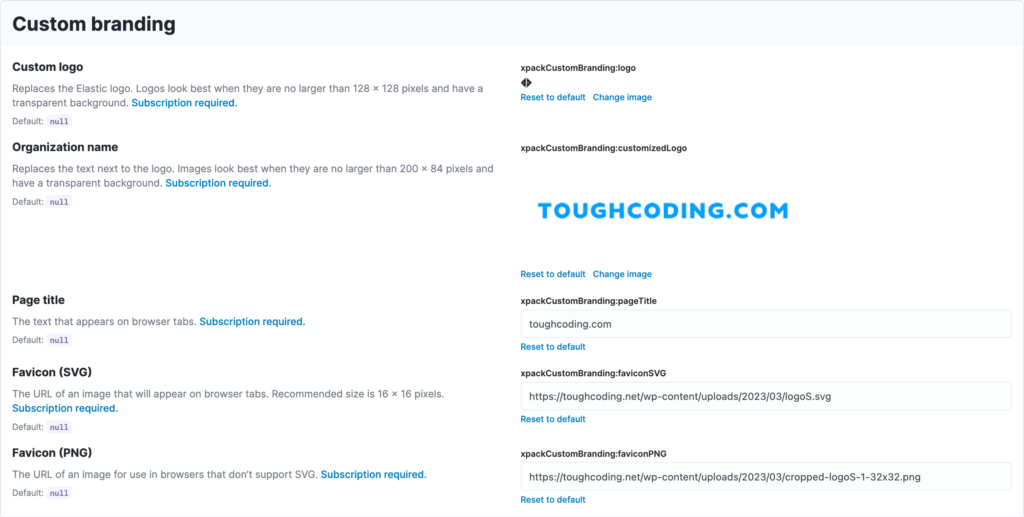
Custom Logo and Organization name you uploading from your local disk. For Favicon you provide URL location. To create SVG file you can use Adobe Express for free, they have convert from jpg/png into SVG.

Once done save changes and refresh page.
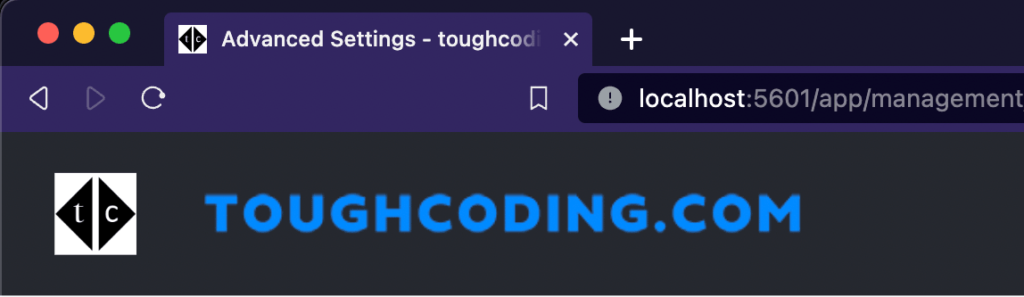
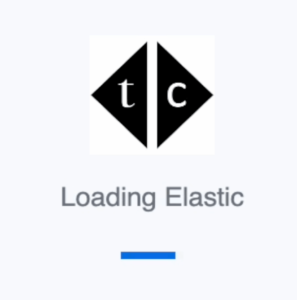
All changes are visible and now you can appreciate your own company logo when using Kibana. Also during loading you will have a new image
4. Final thoughts
In this knowledge article you have learned how to setup your own company graphics in Kibana. This custom branding will be useful to distinguish your Kibana look from default installation and make users feel more connected to company environment.