

Table of Contents
1. Introduction
Have you ever struggle uploading massive amount of artifacts using shell scripting? You have to maintain code, plus shell will be one thread at the time. I found an easy way to upload in parallel and with little workload, now I want to share it with you. It’s name is JFrog CLI and it comes for free also in form of docker image.
2. Start simple artifactory [Optional]
If you want to practice on DEV artifactory that you can smash and destroy once done with the job, here you are – dockerized version of Jfrog repository comes into picture. Otherwise skip to chapter 3.
2.1. Create docker volume
docker volume create --opt type=tmpfs --opt device=tmpfs --opt o=size=800m jfrogdata
2.2. Create configuration file
					cat <<EOF >system.yaml
shared.node.id=jfrog
shared.node.ip=127.0.0.1
EOF
2.3. Start a service
					docker run --rm \
--name artifactory \
-d \
-e JFROG_HOME=/var/opt/jfrog/artifactory \
-p 8081:8081 \
-p 8082:8082 \
-v jfrogdata:/var/opt/jfrog/artifactory \
-v ./system.yaml:/var/opt/jfrog/artifactory/system.yaml \
releases-docker.jfrog.io/jfrog/artifactory-oss:7.77.5
2.4. Login to UI
Go to http://localhost:8082/ui/
and use admin/password as credentials. You will be asked to change them once logged in.
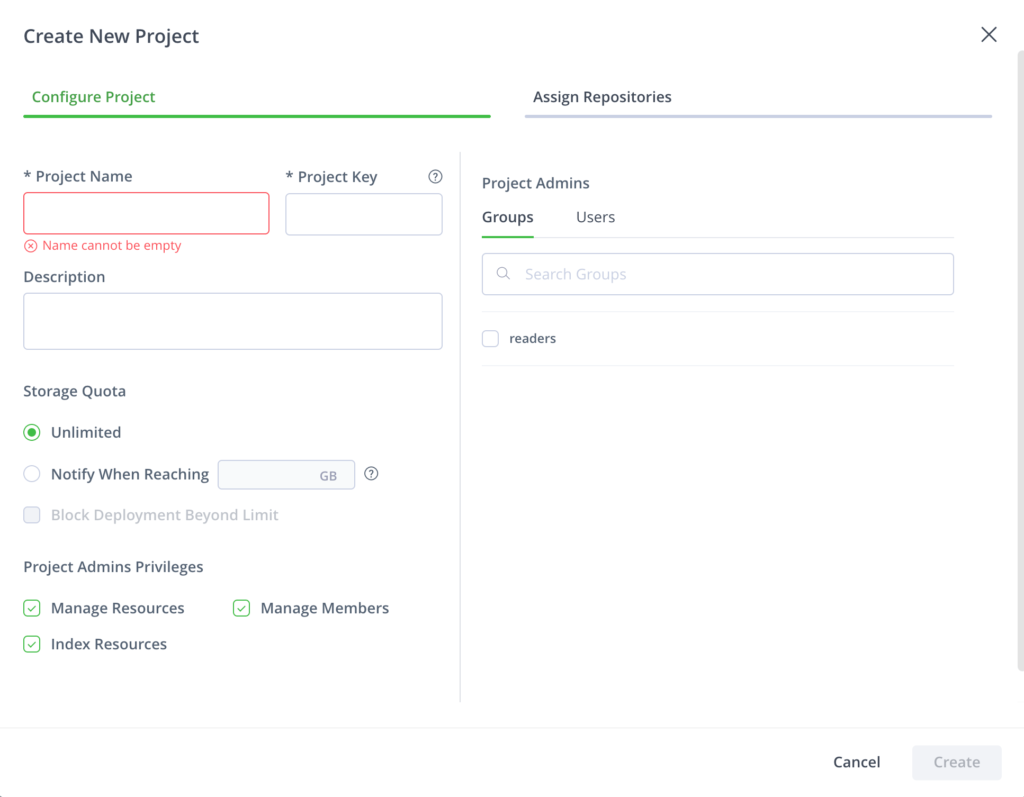
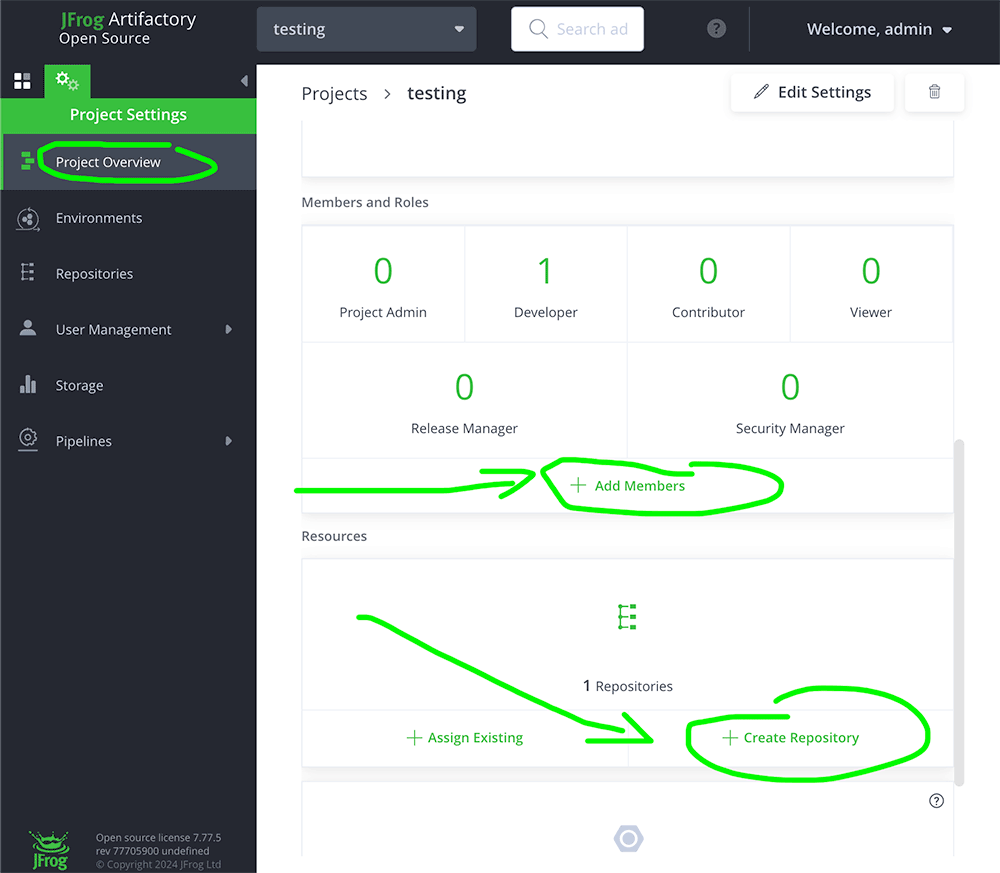
2.5. Create the Project
Create project that will bind user and repository together.
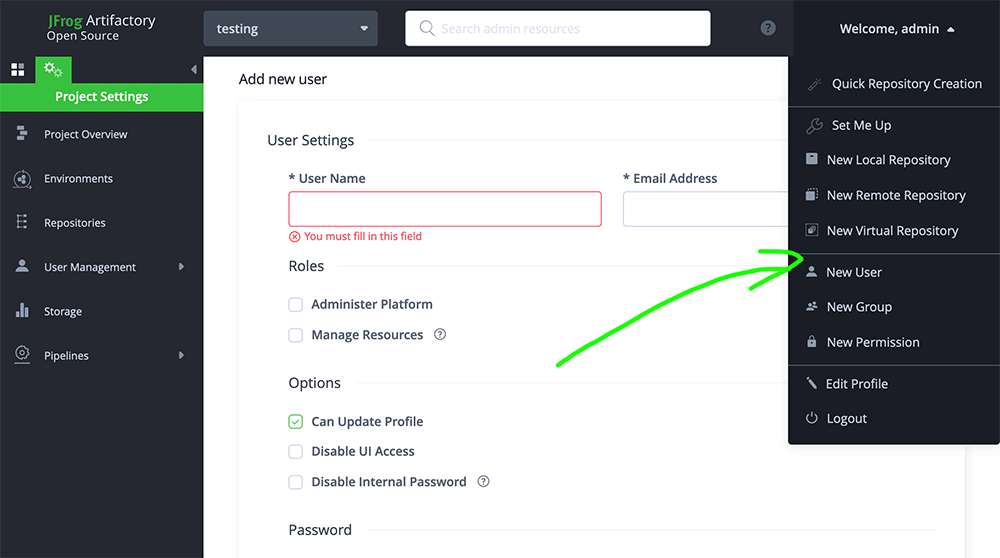
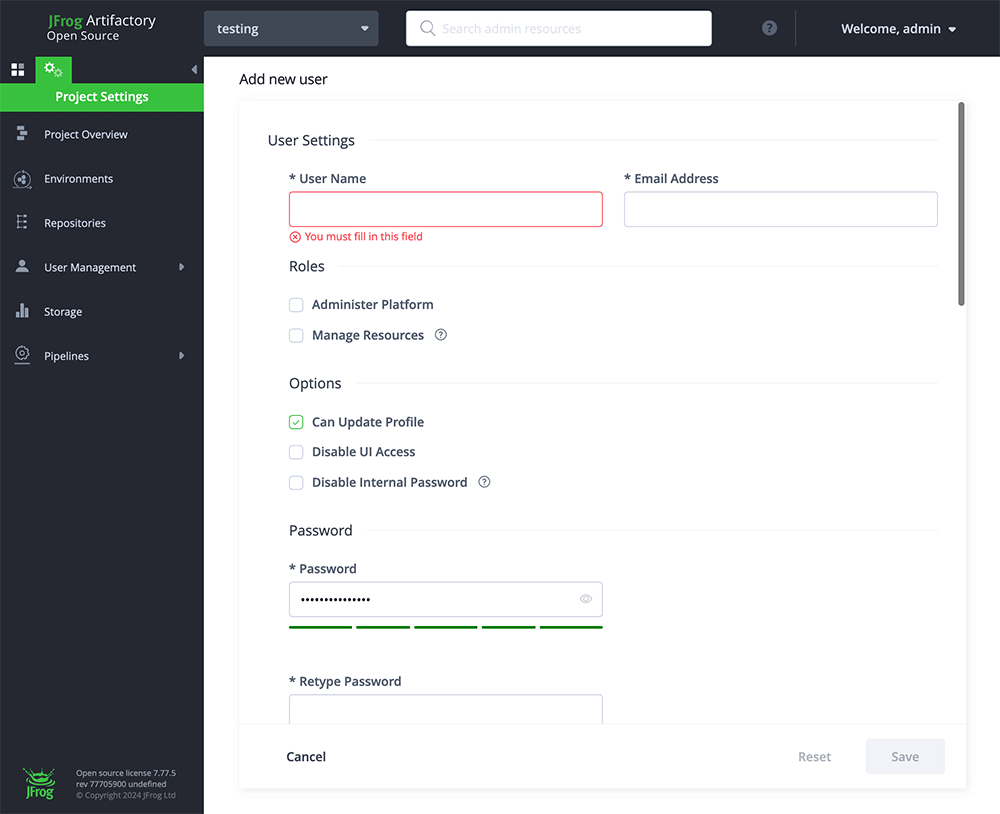
2.6. Add User
Add user loader so you can use it later on for loading purposes.
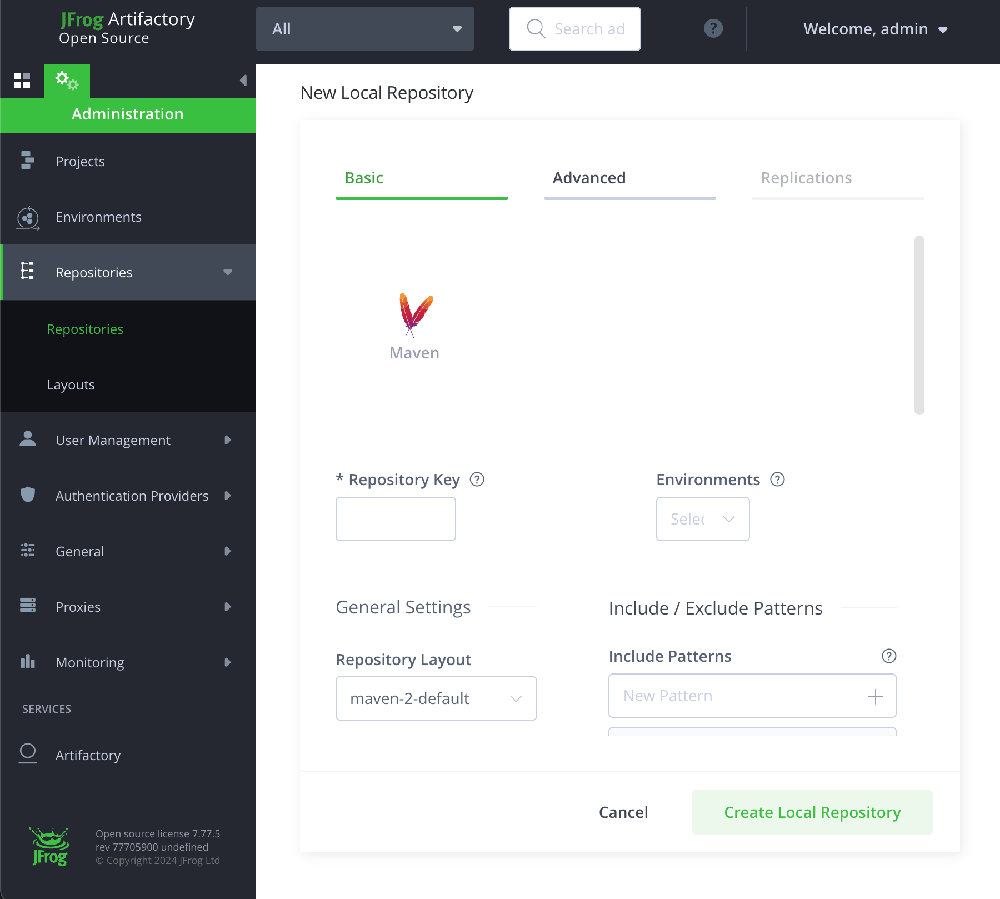
2.7. Add new Maven repository
This you will use to upload artifacts into.
2.8. Combine it all together under project
Go to newly created project and add user and repository
3. Load artifacts with dockerized JFrog CLI
Go to root catalog of your artifacts so you can see higher domain names. Like below
					t>ls -lt
total 8
-rw-r--r--   1 t  staff  324 Apr 24 20:17 upload.spec
drwxr-xr-x  13 t  staff  416 Apr 24 19:51 com
drwxr-xr-x   6 t  staff  192 Apr 24 19:50 net
Create configuration file that will be used for loader. Space before slash for target is kept on purpose, otherwise it will not let you upload content. Exclusions are discarding files starting with dot and following dash plus upload.spec file won’t be uploaded.
					cat <<EOF > upload.spec
{
    "files": [
        {
            "pattern": "*",
            "target": " /",
            "flat": "false",
            "exclusions": [
                "._*",
                "._*/**",
                "**/._*",
                "**/.*",
                "upload.spec",
                ".*"
            ]
        }
    ]
}
EOF
Then simply start the loader process.
					docker run --rm \
-v //${PWD}:/sources \
-v //${PWD}/upload.spec:/spec/upload.spec \
releases-docker.jfrog.io/jfrog/jfrog-cli-full-v2-jf bash -c "cd /sources && jf rt u --insecure-tls --threads 50 --url="http://192.168.64.1:8082/artifactory/testing-first/" --password "somePAss" --user "SomeUser" --spec /spec/upload.spec "
If you are on Windows and using git bash you have to run slightly modified version. You can also redirect output to log file.
					winpty -Xallow-non-tty docker run --rm \
-v //${PWD}:/sources \
-v //${PWD}/upload.spec:/spec/upload.spec \
releases-docker.jfrog.io/jfrog/jfrog-cli-full-v2-jf bash -c "cd /sources && jf rt u --insecure-tls --threads 50 --url="https://yourrepo/artifactory/reponame" --password "somePAss" --user "SomeUser" --spec /spec/upload.spec " > loading_to_A
In both cases you will see logs showing you number of current thread handling upload, artifact being uploaded and current time. At the end there will be summary what happened fine and what went wrong.
					11:36:31 [Info] [Thread 16] Uploading: com/carrotsearch/hppc-parent/0.7.1/hppc-parent-0.7.1.pom.sha1
11:36:31 [Info] [Thread 42] Uploading: com/carrotsearch/hppc-parent/0.7.1/hppc-parent-0.7.1.pom.lastUpdated
11:36:31 [Info] [Thread 1] Uploading: com/carrotsearch/hppc-parent/0.7.1/hppc-parent-0.7.1.pom
11:36:31 [Info] [Thread 22] Uploading: com/carrotsearch/hppc-parent/0.7.1/_remote.repositories
{
  "status": "success",
  "totals": {
    "success": 532,
    "failure": 0
  }
}
4. Final thoughts
In this knowledge article you have learned how to create at hoc JFrog repository for testing purposes. Additionally you had hands on the small but handy uploader JFrog CLI that let you upload multiple artifacts in parallel.
Now you can use all of that on the daily basis in your project.
Have a nice coding!